Planning Central Vacuum Tubing Routes in New Construction: A Framing Stage Guide
Quick Answer: Central vacuum tubing in a new build is planned as one trunk line that starts at the farthest inlet and runs toward the power unit, with every other inlet joining it through a branch line. The tubing is 2 inch PVC made for vacuum use, and the route should use as few turns as possible, with wide sweep elbows on any hidden bend and angled branch fittings instead of hard tees. Pipe travels through joist bays, wall cavities, and attic or basement space that the other trades have not already claimed, and a thin low voltage wire follows the same path to every inlet. All of it gets placed after framing and before insulation and drywall, because that is the only stage when the whole route is visible and reachable.
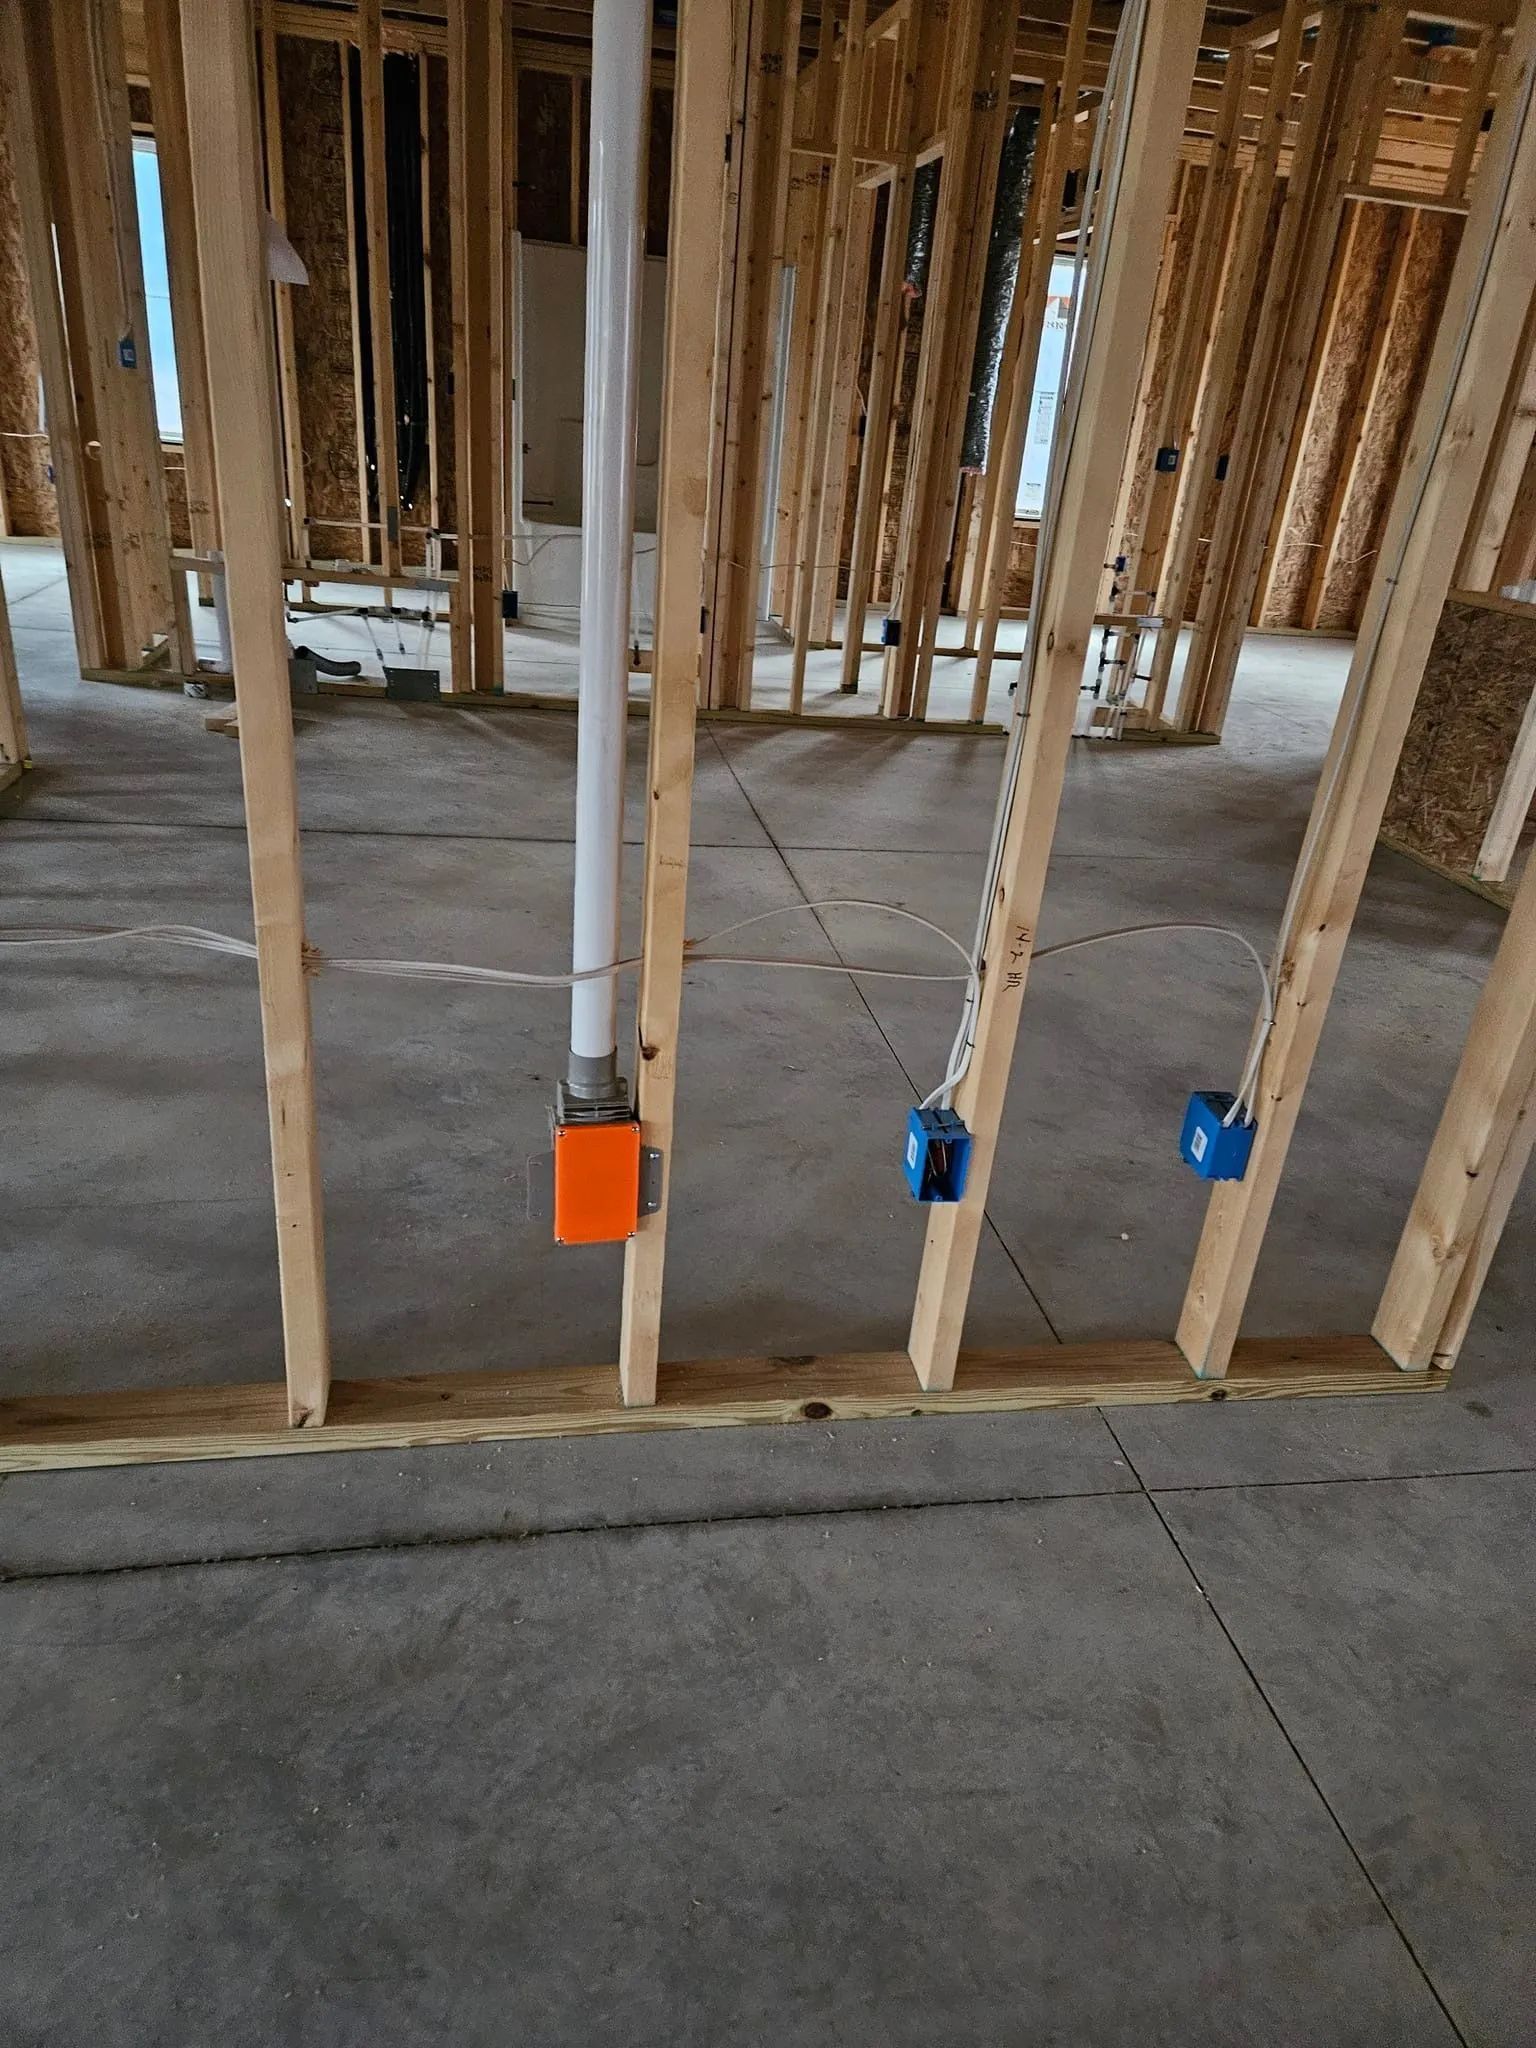
The framers have packed up their saws, and the house now stands as a skeleton of studs and joists. Standing in the basement, you look up and see the underside of the main floor: a grid of floor joists, a copper line already stapled along one side, a bundle of electrical cable drooping through drilled holes. Upstairs, the wall cavities are open on both sides, so you can see straight through the house from the kitchen to the garage. A person with a roll of 2 inch pipe and a plan can do something in this moment that nobody will ever be able to do again once the drywall goes up. They can run a clean, direct path from every inlet in the home to a single power unit, with hardly any bends. That path is the tubing route, and planning it well is the quiet difference between a central vacuum that pulls hard for decades and one that fights its own plumbing.
What a Tubing Route Actually Is
Most homeowners think about a central vacuum in terms of the parts they will touch: the wall inlets, the hose, the tools. The tubing is the part nobody sees, which is exactly why it deserves the most careful thinking. Everything the system picks up travels through it.
The Trunk Line
The trunk is the main pipe carrying air and debris toward the power unit. It connects branch lines and creates a direct path from distant inlets.
Branch Lines
Each inlet connects through a short branch joining the trunk. Keeping branches direct minimizes turns, simplifies cleaning, and helps debris travel efficiently through the system.
Drops And Rises
Wall inlets require vertical pipe sections through walls, floors, attics, or ceilings. Planning these drops and rises carefully prevents conflicts with framing and other systems.
The Exhaust Line
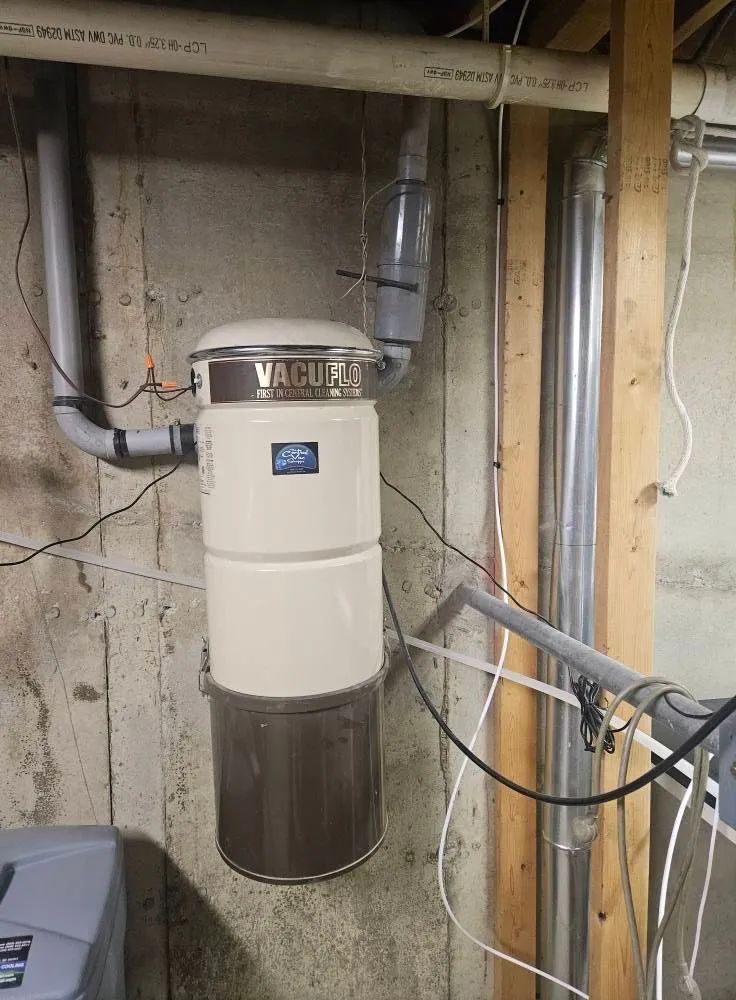
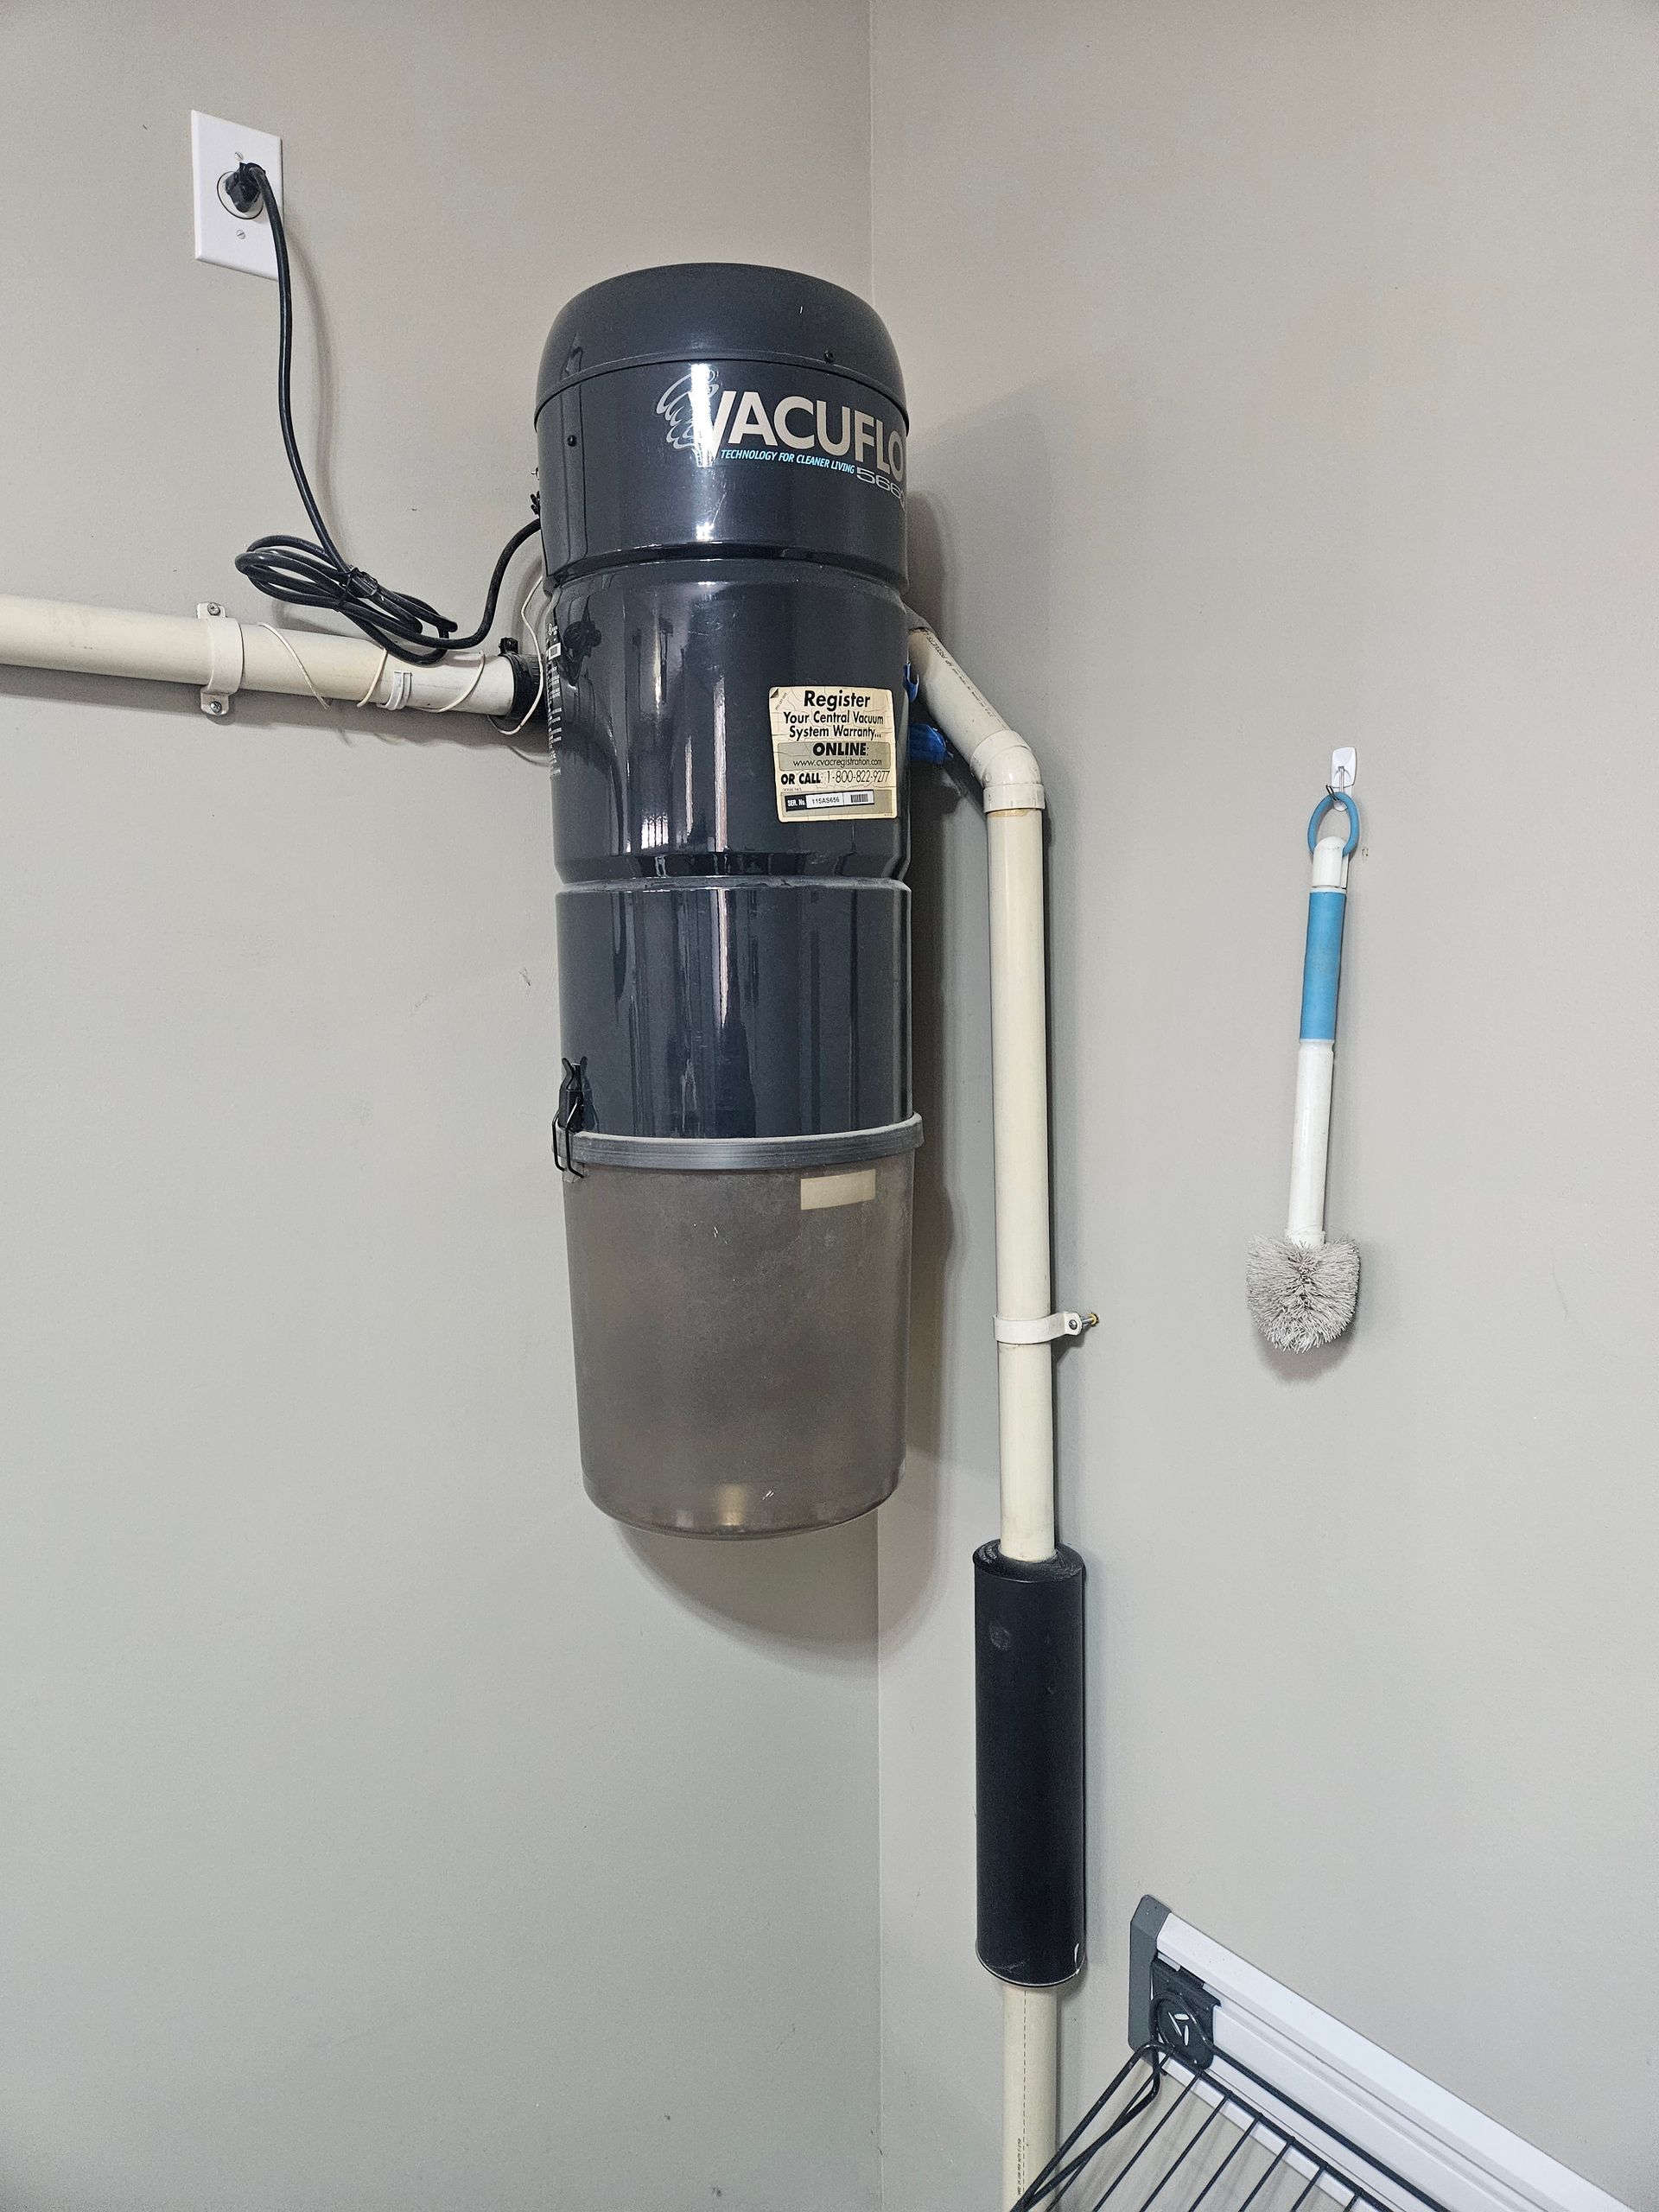
The power unit needs an exhaust path for filtered air. Depending on the system, exhaust may vent outdoors or into the surrounding space where installed.
Start With the Power Unit, Then Work Backward
A tubing route cannot be planned in isolation. The location of the power unit is the anchor for the entire layout, and the inlet positions are the other fixed points. Once those two things are known, the route is the problem of connecting them with the least resistance to airflow.
Begin At The Far End
Start planning from the inlet farthest from the power unit. Its long route determines trunk placement, while closer inlets connect naturally along the path.
Keep The Route Direct
Minimize elbows and unnecessary pipe length to preserve suction. Open framing usually allows straighter routes, making direct paths through joist bays preferable to winding layouts.
Think In Floors
Use vertical chases through closets or stacked interior walls to connect floors. Aligning inlets between levels reduces pipe, bends, and installation complexity while simplifying future maintenance.
Fittings That Keep Debris Moving
The shape of the fittings matters as much as the path of the pipe. Central vacuum fittings are not the same as the ones used for household drain lines, and the difference shows up in how debris behaves when it hits a turn.
Sweep Elbows For Hidden Turns
Sweep elbows use gradual curves that help debris maintain airflow and speed. They reduce impact and clogging risks, making them ideal for concealed turns inside walls, floors, and attics.
Short Turns Only Where They Are Needed
Tight elbows work best directly behind inlets, where limited space requires sharp turns. Because the fitting remains accessible through the inlet, future clogs can be cleared.
Angled Branches, Not Flat Tees
Branches should enter the trunk at an angle matching airflow direction. Y fittings or properly oriented tees help debris merge smoothly without turbulence or unnecessary buildup.
Choosing the Path: Joist Bays, Wall Cavities, and Attic Runs
The open framing offers several places to hide pipe, and each one has strengths and limits. Choosing among them is a matter of what the building offers and what the other trades have already used.
Joist Bays
Spaces between floor joists provide natural horizontal routes for piping. They offer protection, easy support, and convenient connections, though structural drilling requires coordination with builders beforehand.
Attic Runs
Accessible attics can route piping above upper-floor inlets before dropping into wall cavities. Insulating pipes in unheated attics helps prevent condensation caused by cold surfaces.
Slab Homes
Slab homes lack basement ceilings, so trunk lines commonly travel through attics and interior walls. Early planning ensures accessible routes before framing closes these spaces.
Keeping Tubing Clear of the Other Trades
A new house is a busy place, and the tubing has to coexist with everyone else's work. That coexistence is easier when the route is planned in advance and shared with the builder.
Plumbing And Ducts First
Plumbing and heating ducts require fixed routes because of gravity, size, and shape. Vacuum tubing is more flexible, so installers can route it around these systems after rough-ins are completed.
Electrical Coordination
Vacuum tubing can share framing spaces with electrical wiring when properly supported. The installer and electrician should also coordinate the power unit's outlet location before walls are closed.
Framing Coordination
Some vacuum routes require holes through studs or joists. The builder or framer should approve locations before drilling, preventing structural problems, conflicts, and unnecessary rework during installation.
The Low Voltage Wire That Follows the Pipe
Every inlet has a small switch inside it. When the hose is plugged in, the switch closes a circuit that tells the power unit to start. That circuit uses a thin low voltage wire, and the wire has to reach every inlet and finish at the power unit.
Run The Wire With The Pipe
Run low-voltage wire alongside the tubing, securing it at intervals. Following the same route ensures wiring reaches each inlet efficiently and keeps both components easy to locate during future work.
Leave Slack
Leave extra wire at every inlet and near the power unit. A small amount of slack simplifies final connections and prevents problems if measurements or routing change slightly.
Marking and Protecting the Route Before the Walls Close
Once the pipe and wire are in, the last job before drywall is making sure nothing gets lost or damaged. This step is quick, and it pays off for decades.
Cap And Label Every Inlet Location
Cap each inlet stub to prevent construction dust and debris from entering the system. Clearly mark every location so drywall crews can create accurate openings without guessing.
Check The Airflow Before Covering Anything
Test airflow through every run before drywall closes the walls. Confirm each inlet connects correctly to the trunk, allowing problems to be fixed while framing remains accessible.
TIP: Ask your builder to schedule the central vacuum rough in as its own line item on the construction calendar, right after plumbing, heating, and electrical rough in and before insulation. When the visit has a date, the tubing route gets planned and checked while every wall cavity is still open.
Common Routing Mistakes in New Construction
Most routing problems are small decisions that did not seem important at the time. Knowing them ahead of time makes them easy to avoid.
Too Many Bends
Excessive bends increase friction and give debris more opportunities to slow down. Designing fewer, longer runs instead of multiple short sections creates a cleaner, more efficient vacuum tubing route.
Branches That Enter Backward
A backward-facing branch works against airflow, forcing debris to change direction before joining the trunk. Check every fitting's orientation carefully before applying glue to prevent avoidable problems.
No Plan For Cold Spaces
Vacuum tubing crossing unheated garages or attics can develop condensation when warm air meets cold surfaces. In Michigan winters, insulating or rerouting these sections helps protect system performance.
Frequently Asked Questions
How big is the pipe used for central vacuum tubing?
Most residential systems use 2 inch PVC tubing made for vacuum use. It is sized to carry both airflow and debris from the hose. Your installer will follow the size recommended for your power unit.
Can central vacuum pipe run through exterior walls?
It can, but installers prefer interior walls for vertical drops. Cold exterior walls can cause condensation inside the pipe, so in a Michigan home an interior path is usually the better choice.
Does the tubing route affect how well the system works?
Yes. A direct route with few bends and wide, smooth turns keeps debris moving, while many tight turns slow it down. Careful planning helps the system perform the way it was built to.
What is the low voltage wire for?
Each inlet contains a small switch. Plugging in the hose completes a low voltage circuit that tells the power unit to start. The wire runs alongside the tubing to reach every inlet.
Who decides where the pipe goes in the framing?
It is a shared decision. The installer proposes the route, and the builder and framing crew confirm it works with the structure and other trades. Any hole through a structural member is cleared with the builder first.
What if I did not plan tubing before the walls closed?
A central vacuum can still be added to a finished home. Installers use basement ceilings, closets, attic space, and existing wall chases, though the route is usually less direct than one planned in open framing.
A Planned Route Keeps Air Moving for Decades
A tubing route is something you plan once and then live with for the life of the house. It disappears behind drywall within weeks, and after that it simply works or it does not. The homes where it works best share a few habits. The route was drawn from the farthest inlet toward the power unit, the fittings kept debris moving, and someone checked the whole path while every wall was still open. None of it takes unusual effort, only a conversation at the right moment in the build.
With 7
years of experience serving Galesburg, MI, The Central Vac Shoppe
has seen how much easier a system runs when the route is settled before insulation and drywall arrive. Wide sweep elbows, angled branches, and a wire that follows the pipe all become invisible once the walls close, yet they decide how strong the suction feels at every inlet. When that groundwork is done carefully, the household simply plugs in a hose and cleans without a second thought.