What to Expect on Installation Day: A Step-by-Step Walkthrough of a New Central Vacuum Install in Michigan
Installing a central vacuum system is a strategic upgrade that enhances convenience, indoor air quality, and long-term home value. In regions like Michigan, where seasonal changes bring everything from winter debris to spring allergens, a powerful and efficient cleaning solution becomes more than a luxury—it becomes a necessity. Unlike portable vacuums, central systems offer consistent suction, reduced noise, and improved filtration by removing dust and debris from living spaces entirely. However, for many homeowners, the installation process can feel unfamiliar or even overwhelming.
Understanding what to expect on installation day helps eliminate uncertainty and ensures a smoother experience from start to finish. From pre-installation preparation to final system testing, every phase plays a critical role in achieving optimal performance and long-term reliability. This step-by-step walkthrough breaks down the entire process, providing clear insights into how central vacuum systems are installed in real-world Michigan homes. With the right expectations and preparation, installation day becomes a straightforward, efficient process that delivers lasting benefits.
1. Pre-Installation Preparation and Home Assessment
Initial Planning and System Design
Installation day success begins long before technicians arrive at your home. A proper pre-installation assessment ensures the system is tailored to the home’s layout, size, and cleaning needs. During this stage, we carefully evaluate square footage, number of floors, wall accessibility, and potential routing paths for tubing throughout the entire home.
In Michigan homes, construction styles vary significantly—from older homes with plaster walls to modern builds with open floor plans. Each structure requires a customized design approach for optimal results. For example, older homes may need more strategic routing to avoid structural disruption, while newer homes allow easier integration within walls and ceilings without major modifications.
Homeowner Preparation Before Arrival
Preparation on the homeowner’s end plays a key role in keeping installation efficient and organized. Clearing access to utility areas, garages, basements, and closets where tubing or power units may be installed ensures technicians can work without delays or unnecessary complications during the process.
Furniture near planned inlet valve locations should be moved ahead of time. Additionally, pets should be secured to maintain safety and minimize distractions for everyone involved. These simple steps help streamline the process and prevent unnecessary interruptions during installation day activities.
2. Arrival and Setup: What Happens First
Technician Walkthrough and Confirmation
Once installation day begins, the first step is a walkthrough of the home with the technicians. This ensures alignment between the planned design and actual site conditions before any work starts. Even with prior planning, minor adjustments may be required based on structural realities discovered onsite during inspection.
We confirm inlet valve locations, power unit placement, and tubing routes carefully. This stage also provides an opportunity to address any last-minute questions or concerns before work begins, ensuring complete clarity and confidence moving forward.
Equipment Setup and Work Area Preparation
Technicians prepare tools, materials, and protective coverings before beginning any installation work. Floors and workspaces are often shielded to prevent dust or debris from spreading during installation in finished areas. Maintaining a clean work environment is especially important in finished homes with delicate surfaces.
At this stage, all components—including tubing, fittings, inlet valves, and the central power unit—are staged and ready for installation. Proper organization ensures efficiency, reduces installation time, and helps avoid unnecessary delays during the entire process.
3. Installation of Tubing and Inlet Valves
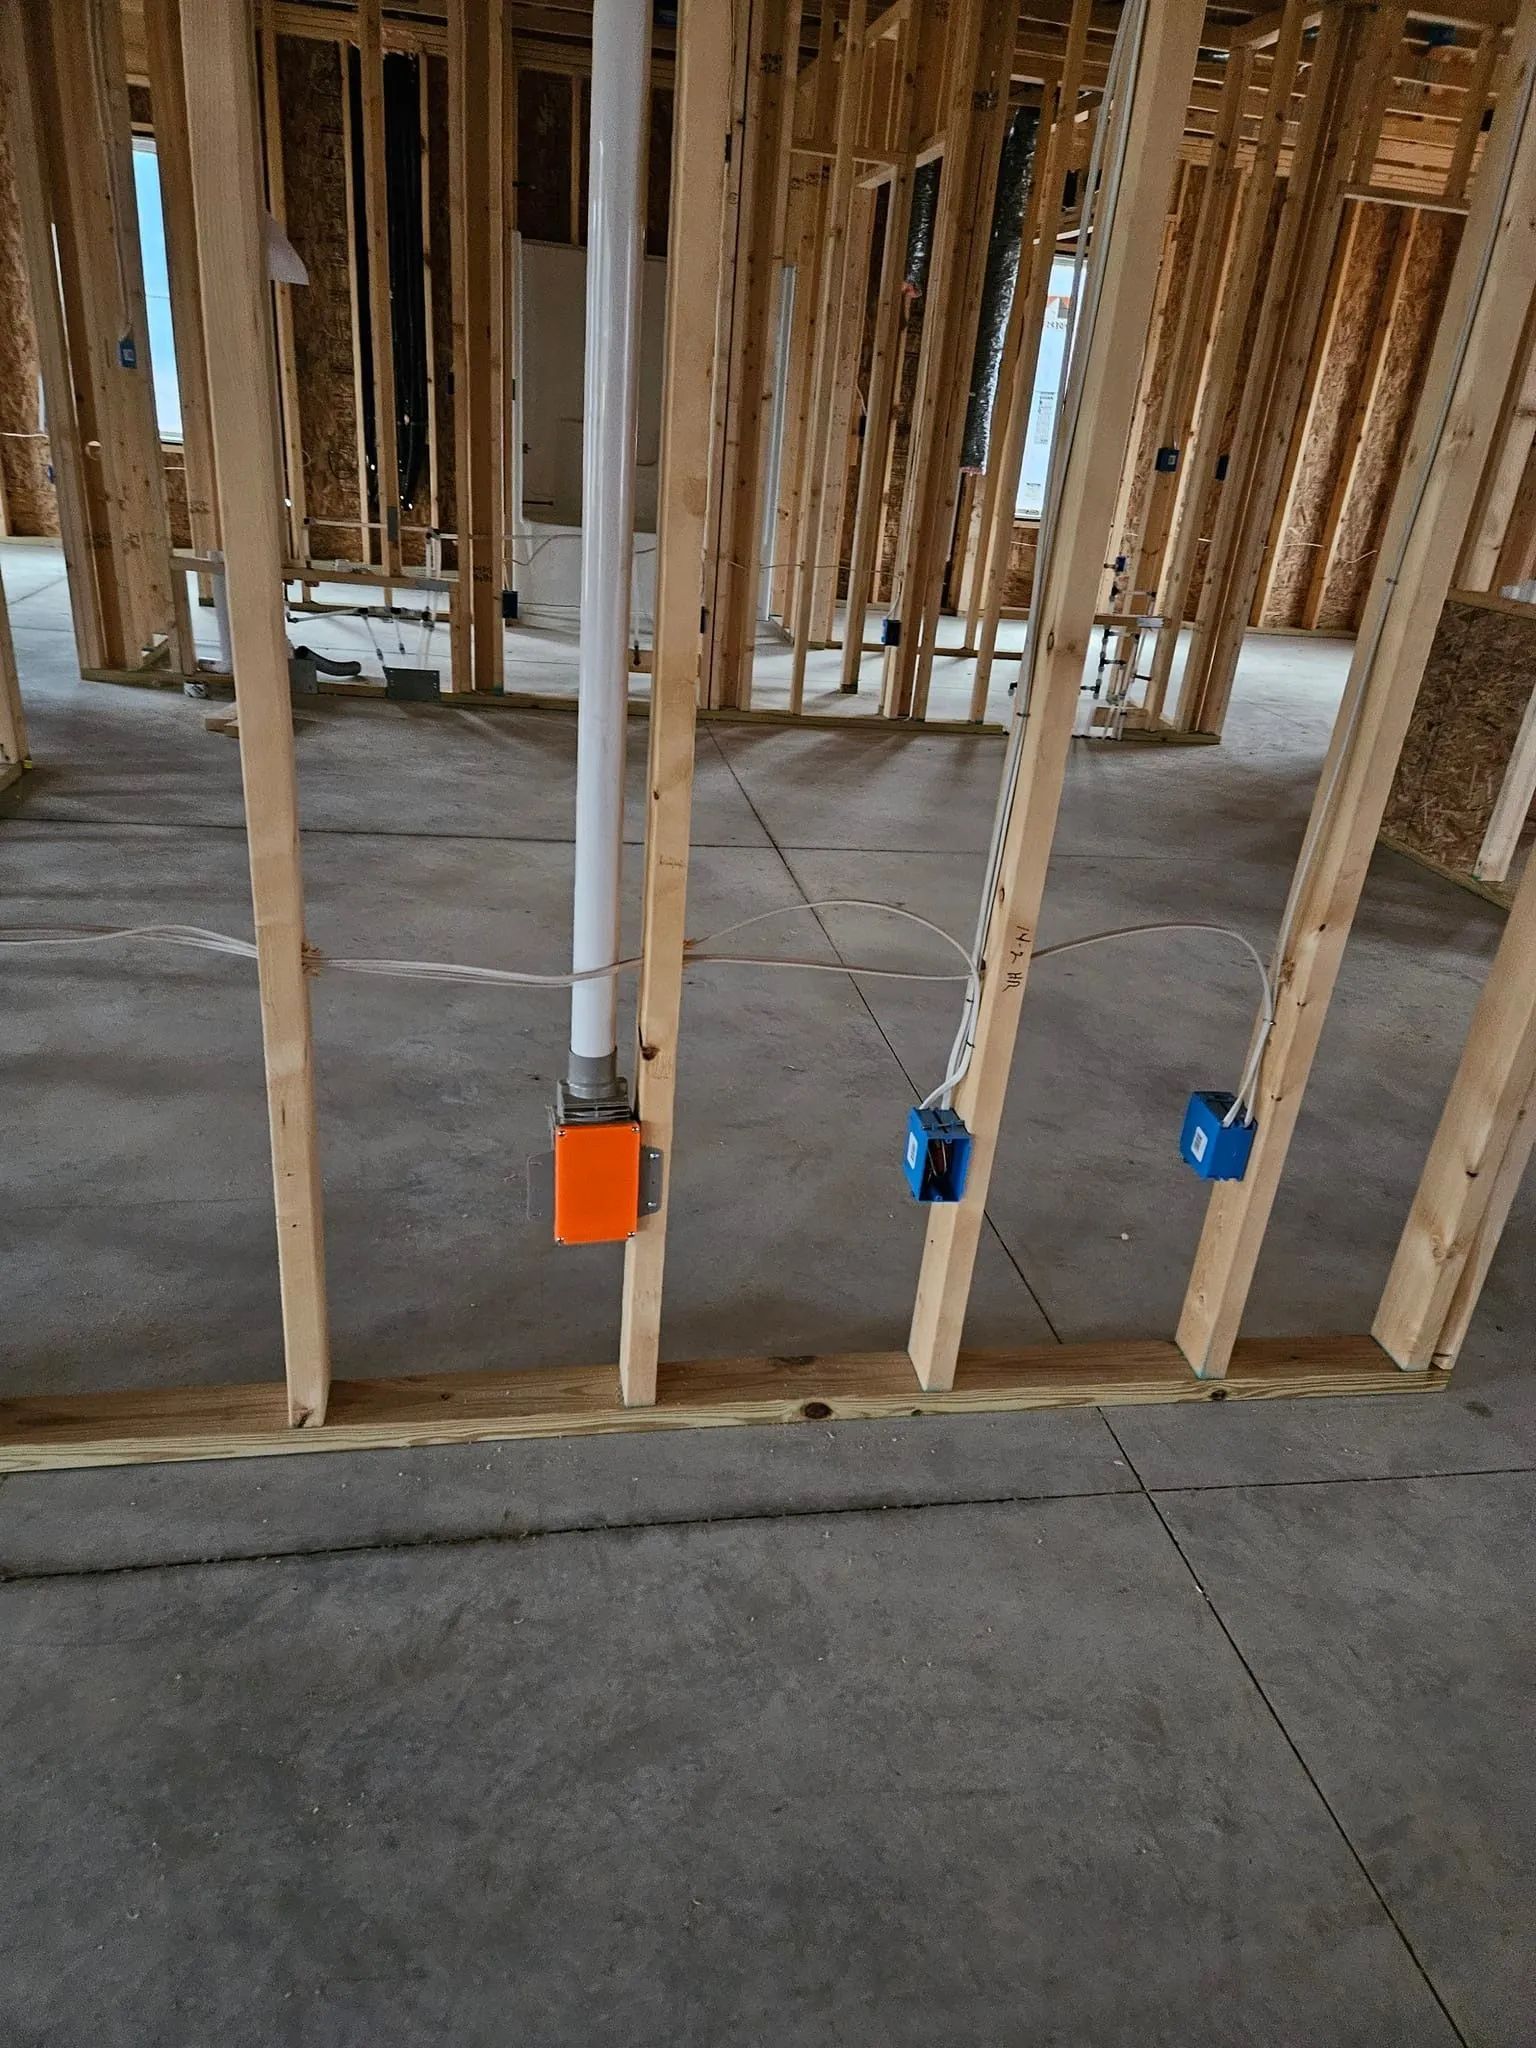
Running the Central Vacuum Piping System
The core of any central vacuum system lies in its tubing network, which connects all components seamlessly. PVC piping is carefully routed through walls, ceilings, or basements to connect each inlet valve to the central power unit efficiently and securely.
In Michigan homes, basements often provide a convenient pathway for tubing, allowing minimal disruption to main living areas. For multi-story homes, vertical routing between floors requires precision and careful planning to maintain structural integrity and avoid unnecessary damage.
Technicians use specialized tools to cut access points and install piping securely in place. Proper sealing and alignment are critical to ensure optimal suction performance and prevent air leaks that could reduce overall system efficiency over time.
Installing Inlet Valves Strategically
Inlet valves are placed in accessible, centralized locations to maximize coverage while minimizing the number of ports needed throughout the home. Typically, one inlet can cover a large area with the appropriate hose length and proper placement strategy.
Placement considerations include avoiding high-traffic obstruction areas, ensuring convenient access for daily cleaning routines, and maintaining aesthetic consistency with the home’s interior design. Once installed, inlet valves are thoroughly tested to ensure proper airflow and secure connection to the system.
4. Mounting the Power Unit and Electrical Integration
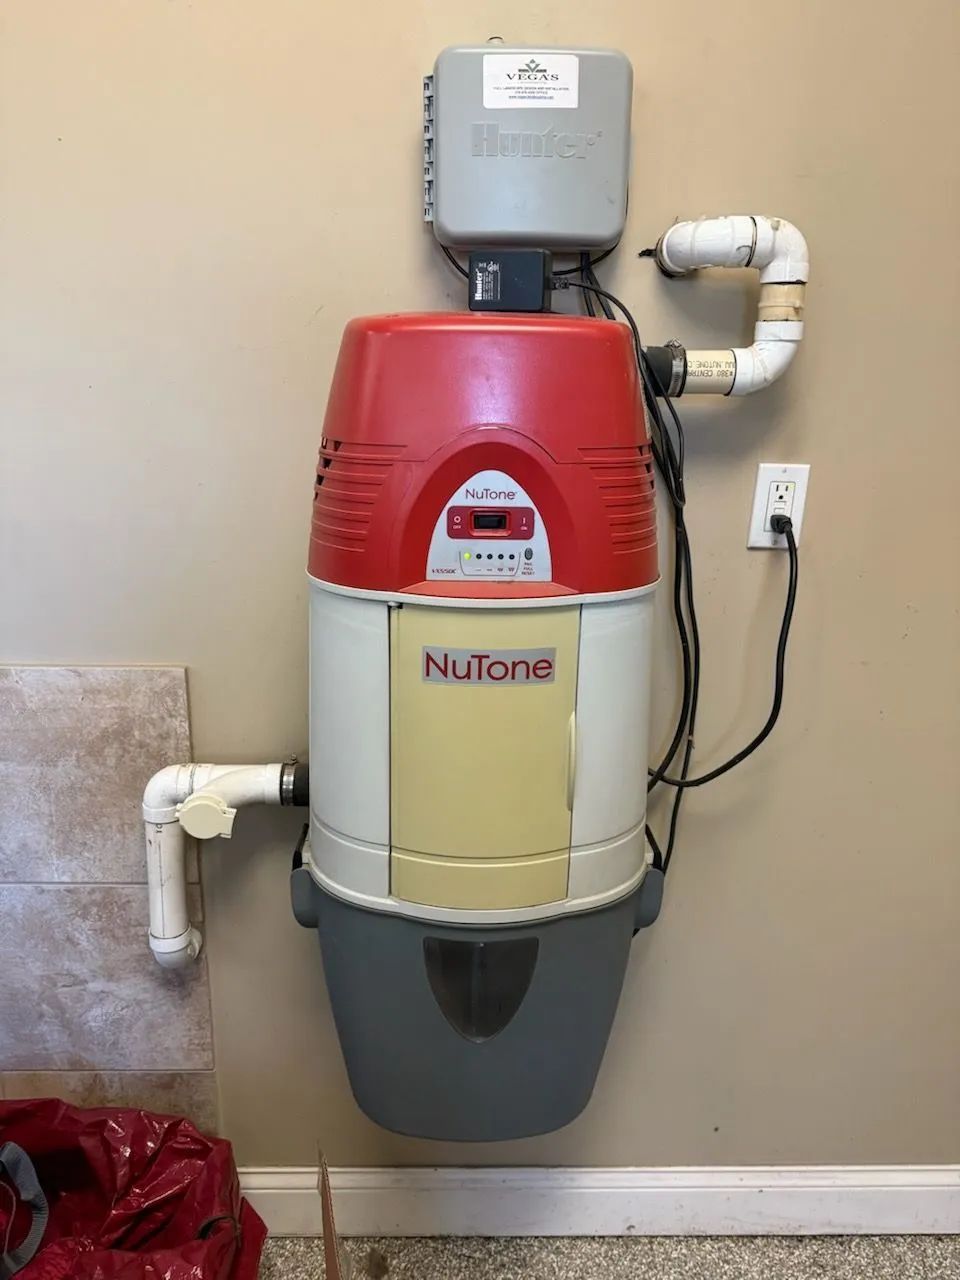
Selecting the Ideal Location
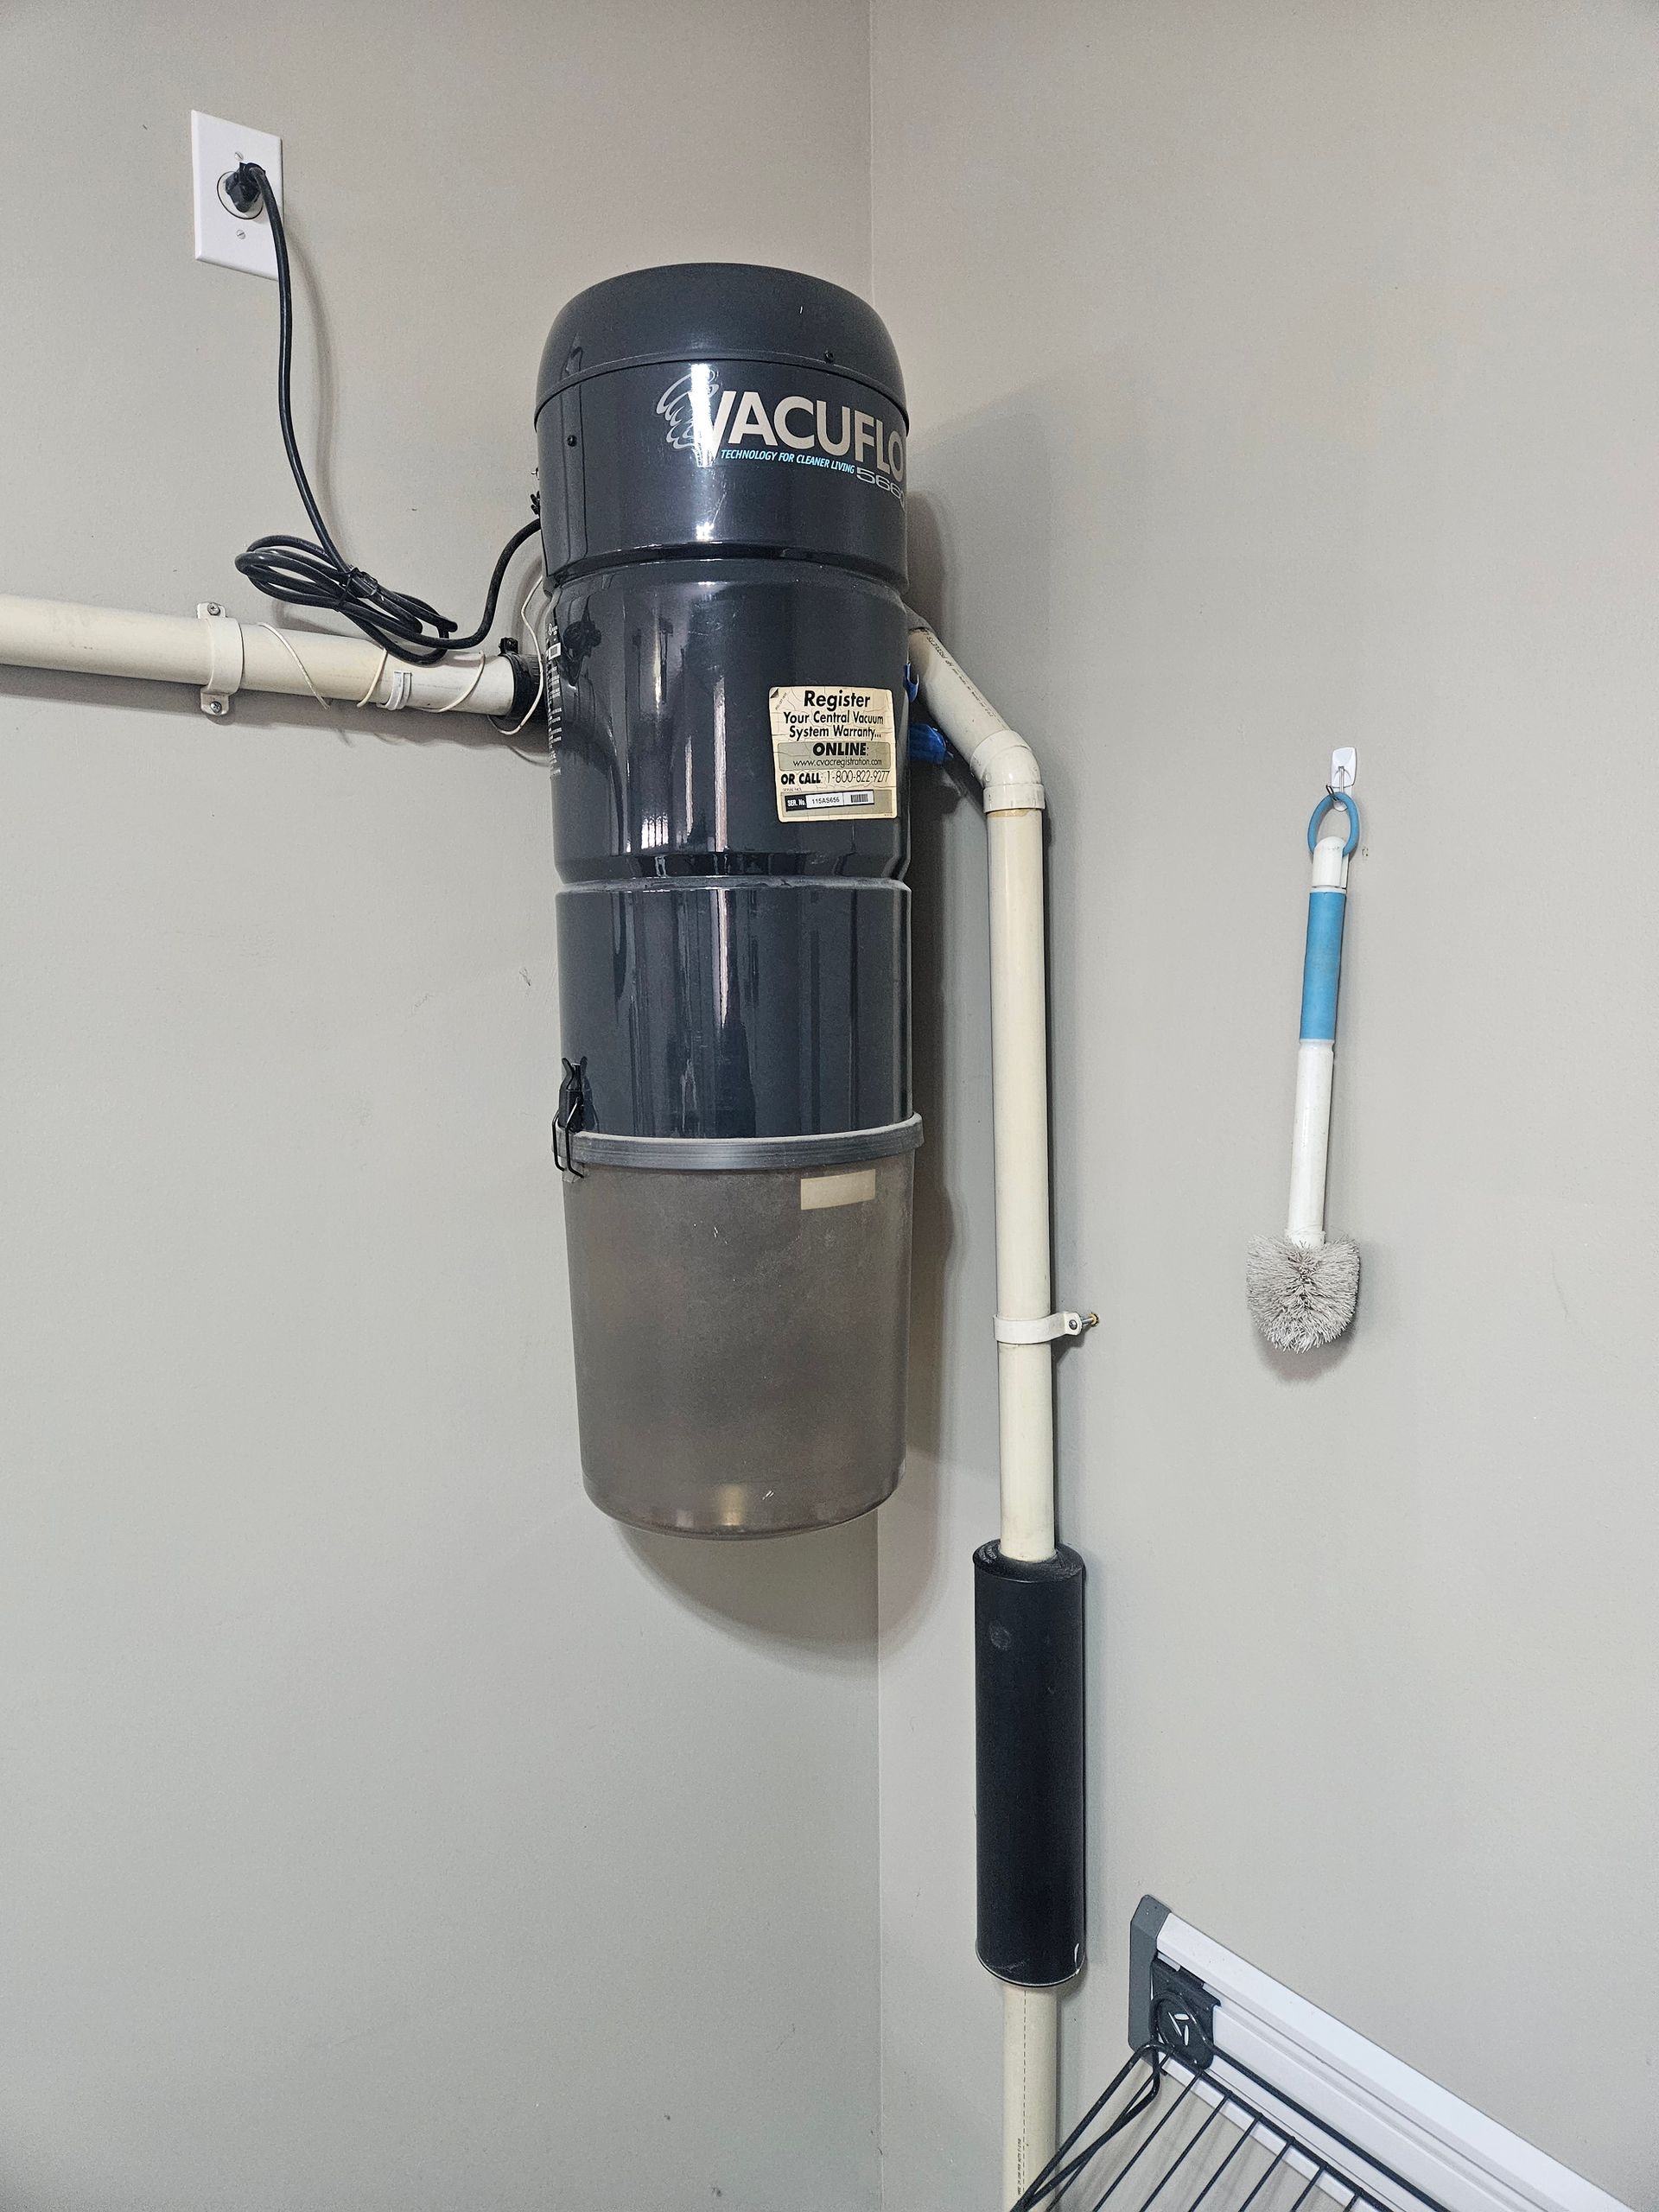
The central power unit is usually installed in a garage, basement, or utility room for optimal performance. This placement keeps operational noise isolated from living areas while providing easy access for maintenance and servicing when needed.
In colder climates like Michigan, proper placement also ensures the unit is protected from extreme temperatures. Insulated areas are preferred to maintain consistent performance year-round and prevent potential damage caused by harsh environmental conditions.
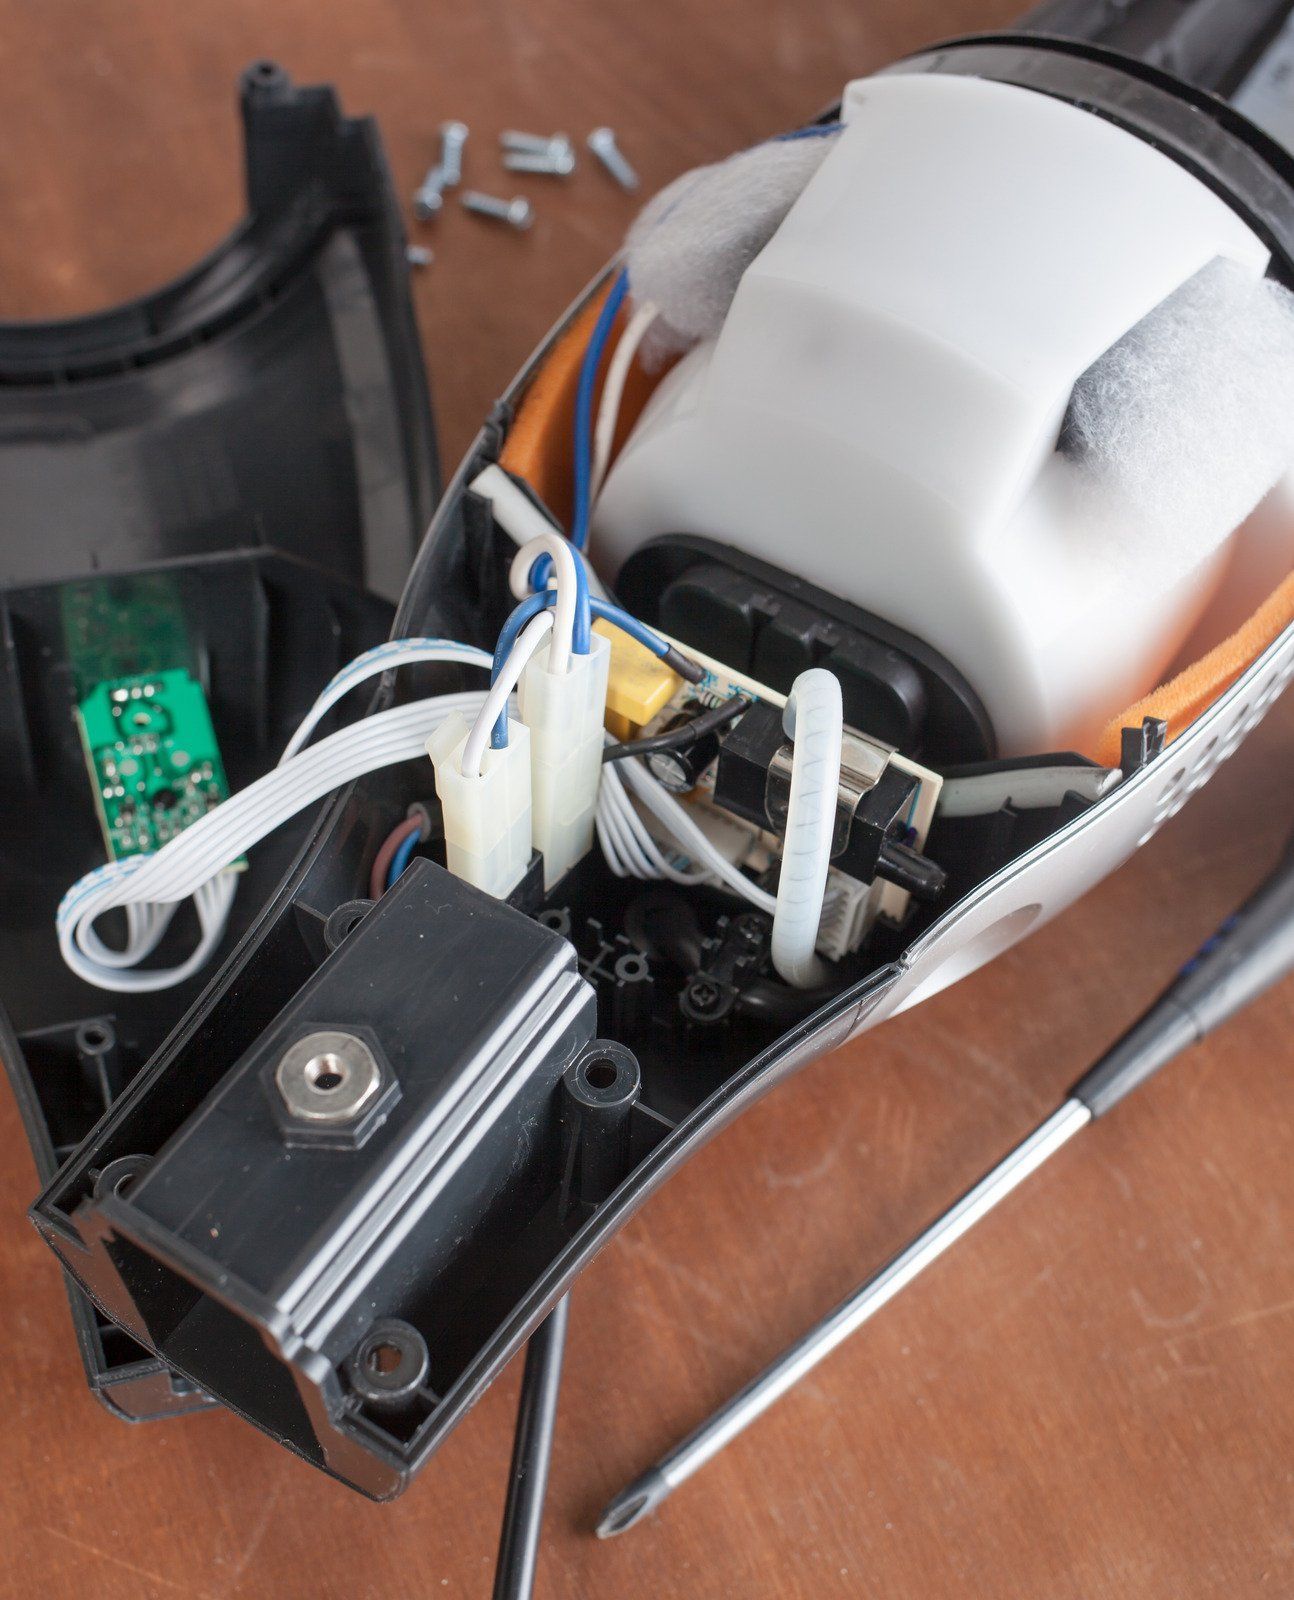
Electrical Connections and System Activation
The power unit requires a dedicated electrical connection to function properly and safely. This ensures reliable operation without overloading existing circuits or causing electrical issues within the home’s system. Low-voltage wiring is also connected between inlet valves and the power unit, enabling automatic activation when a hose is inserted.
At this stage, all electrical components are carefully tested for safety and functionality. Proper grounding and secure connections are essential to meet safety standards and ensure long-term reliability and efficient system performance.
5. System Testing, Calibration, and Cleanup
Performance Testing and Adjustments
Once installation is complete, the system undergoes comprehensive testing to verify proper functionality. Each inlet valve is checked for suction strength, airflow consistency, and responsiveness to ensure everything works as intended.
We ensure no air leaks are present in the tubing, the power unit activates correctly, and suction performance meets expected standards. If adjustments are needed, they are made immediately to ensure optimal system performance and long-term reliability.
Homeowner Demonstration and Guidance
A key part of installation day is educating the homeowner on system usage and care. We demonstrate how to use the system, including attaching hoses, operating accessories, and performing routine maintenance tasks properly and safely.
This step ensures confidence in using the system effectively from day one. Clear guidance reduces the risk of misuse and helps extend the lifespan of the equipment significantly over time.
Final Cleanup and Inspection
Installation concludes with a thorough cleanup of all work areas used during the process. Debris, dust, and leftover materials are removed, leaving the home in clean and organized condition for the homeowner.
A final inspection ensures everything meets quality standards and installation expectations. This attention to detail reinforces reliability, professionalism, and customer satisfaction throughout the entire installation experience.
6. Common Challenges and Best Practices
Navigating Structural Limitations
Every home presents unique challenges that must be addressed during installation. Tight wall spaces, limited access points, and older construction materials can complicate installation efforts and require creative solutions. However, experienced planning and flexible routing strategies help overcome these obstacles efficiently and effectively.
For example, creative tubing paths through closets or attic spaces can minimize wall modifications while maintaining system efficiency and performance. These approaches help preserve the home’s structure while still achieving optimal installation results.
Ensuring Long-Term Performance
Best practices during installation directly impact long-term system performance and reliability. These include using high-quality materials for durability, ensuring airtight connections throughout the system, and strategically placing inlet valves for maximum efficiency and coverage.
Routine maintenance also plays a role in system longevity and performance. Regular filter checks, periodic inspections, and proper usage habits help maintain peak performance and extend the lifespan of the central vacuum system significantly.
Real-World Scenario: Efficient Installation in a Multi-Level Home
Consider a two-story Michigan home with a finished basement and multiple living areas. Proper planning allows tubing to run through the basement ceiling, up through interior walls, and into upper floors without disrupting main living spaces or causing major structural changes.
Inlet valves are placed strategically on each level, reducing the need for long hose extensions and improving usability. The power unit is installed in the basement, minimizing noise and maximizing accessibility for maintenance. This approach ensures efficient cleaning across all levels while maintaining a seamless and professional installation process.
Expert Central Vacuum Installation Backed By Experience
For homeowners seeking reliable central vacuum solutions, The Central Vac Shoppe stands as a trusted authority in the industry. As a dedicated vacuum cleaner repair shop based in Galesburg, Michigan, with 7 years of experience, we bring specialized knowledge and hands-on expertise to every installation project. Our approach focuses on precision, efficiency, and long-term system performance.
We understand the unique demands of Michigan homes, from seasonal debris challenges to diverse architectural styles. Every installation is handled with careful planning, high-quality materials, and attention to detail, ensuring systems operate at peak efficiency from day one. Beyond installation, we provide ongoing support, maintenance guidance, and repair services to help extend the life of central vacuum systems.
Our commitment to excellence is rooted in delivering practical, value-driven solutions that enhance everyday living. By combining technical expertise with a customer-focused approach, we ensure each project meets the highest standards of quality and reliability. For homeowners looking to invest in a central vacuum system, we offer the experience and professionalism needed to achieve lasting results.