DIY vs. Professional Central Vacuum Repair: When You Can Fix It Yourself (and When You Really Shouldn't)
Your central vacuum has been running fine for years, and now it has stopped picking up the way it should. Maybe the suction dropped suddenly, or the unit keeps shutting off mid-use, or you noticed the motor grinding just slightly before you switched it off. Before you pull the unit off the wall or start ordering replacement parts online, there is one thing worth knowing right now: most central vacuum problems fall into two very clear categories. Some are safe, simple, and genuinely worth handling yourself. Others look simple but involve components where a wrong move turns a minor service call into a full system replacement. After seeing this pattern play out on hundreds of service calls, we can tell you the difference is usually not about skill level. It is about knowing exactly what you are looking at before you touch anything.
Start Here: Quick Checks Any Homeowner Can Do Safely
Before calling anyone or taking anything apart, run through these steps in order. They resolve a surprising number of complaints without any tools at all.
- Check every inlet valve in the house. A single valve that did not fully close after use will drop suction across the entire system. Press each one firmly until you feel it click shut.
- Inspect the dustbin or bag. A full canister reduces airflow faster than most homeowners expect. If it is more than two-thirds full, empty it completely before drawing any other conclusions.
- Look at the exhaust location. If the exhaust port exits into a garage or utility space, debris can back up and restrict airflow. Clear any visible obstruction.
- Check the hose. Lay it flat and run your hand along the full length. A small crack or disconnected internal sleeve can create a suction leak that mimics a motor problem.
- Reset the unit. Some motor protection circuits trip during heavy use. Power the unit completely off, wait two minutes, and restart.
TIP: If suction dropped after a large debris pickup like drywall dust or pet hair in volume, remove and clean the filter before anything else. A clogged filter is responsible for roughly 40 percent of the suction complaints we diagnose, and it takes about three minutes to check.
WARNING: If the unit trips the breaker when you turn it on, do not reset it and try again. A central vacuum motor drawing enough current to trip a breaker has an internal fault. Repeatedly cycling the breaker can damage wiring in the wall and turn an electrical repair into a much larger problem. Stop and call a technician.
What You Can Safely Repair Yourself
Several central vacuum repairs fall well within what a careful homeowner can handle without professional training. The key is staying in the mechanical and maintenance category and leaving anything electrical or motor-related alone.
Replacing The Bag Or Filter
This is routine maintenance, not a repair, but skipping it causes most of the complaints we see. Bags should be replaced well before they reach capacity. Filters should be cleaned or replaced on a schedule, not only when suction drops noticeably.
Clearing A Blockage In The Tubing
If suction is strong at the unit itself but weak at the inlets, the blockage is in the piping, not the motor. Use a reverse-airflow technique: connect a leaf blower or shop vac to an inlet near the suspected location and push air through toward the power unit. Most soft blockages clear in under a minute this way.
Replacing An Inlet Valve Cover
Valve covers crack, get painted over during renovations, or simply wear out. Replacements are inexpensive and snap or screw into the wall plate with no wiring involved.
Resealing A Pipe Joint
Central vacuum PVC joints that have vibrated loose over years of use are a common source of suction loss. If you can access the tubing in an unfinished basement or utility area, resealing with PVC cement or a purpose-made fitting is a straightforward fix.
Where DIY Repairs Go Wrong
The repairs that most often backfire are the ones that look mechanical but have an electrical component underneath.
Motor replacement attempts without the right specifications
Central vacuum motors are not interchangeable by size alone. Voltage, airflow rating, bypass versus flow-through design, and mounting configuration all have to match exactly. We have seen units arrive for service after an incorrect motor was installed, causing thermal failures within weeks that damaged the motor housing and sometimes the wiring harness.
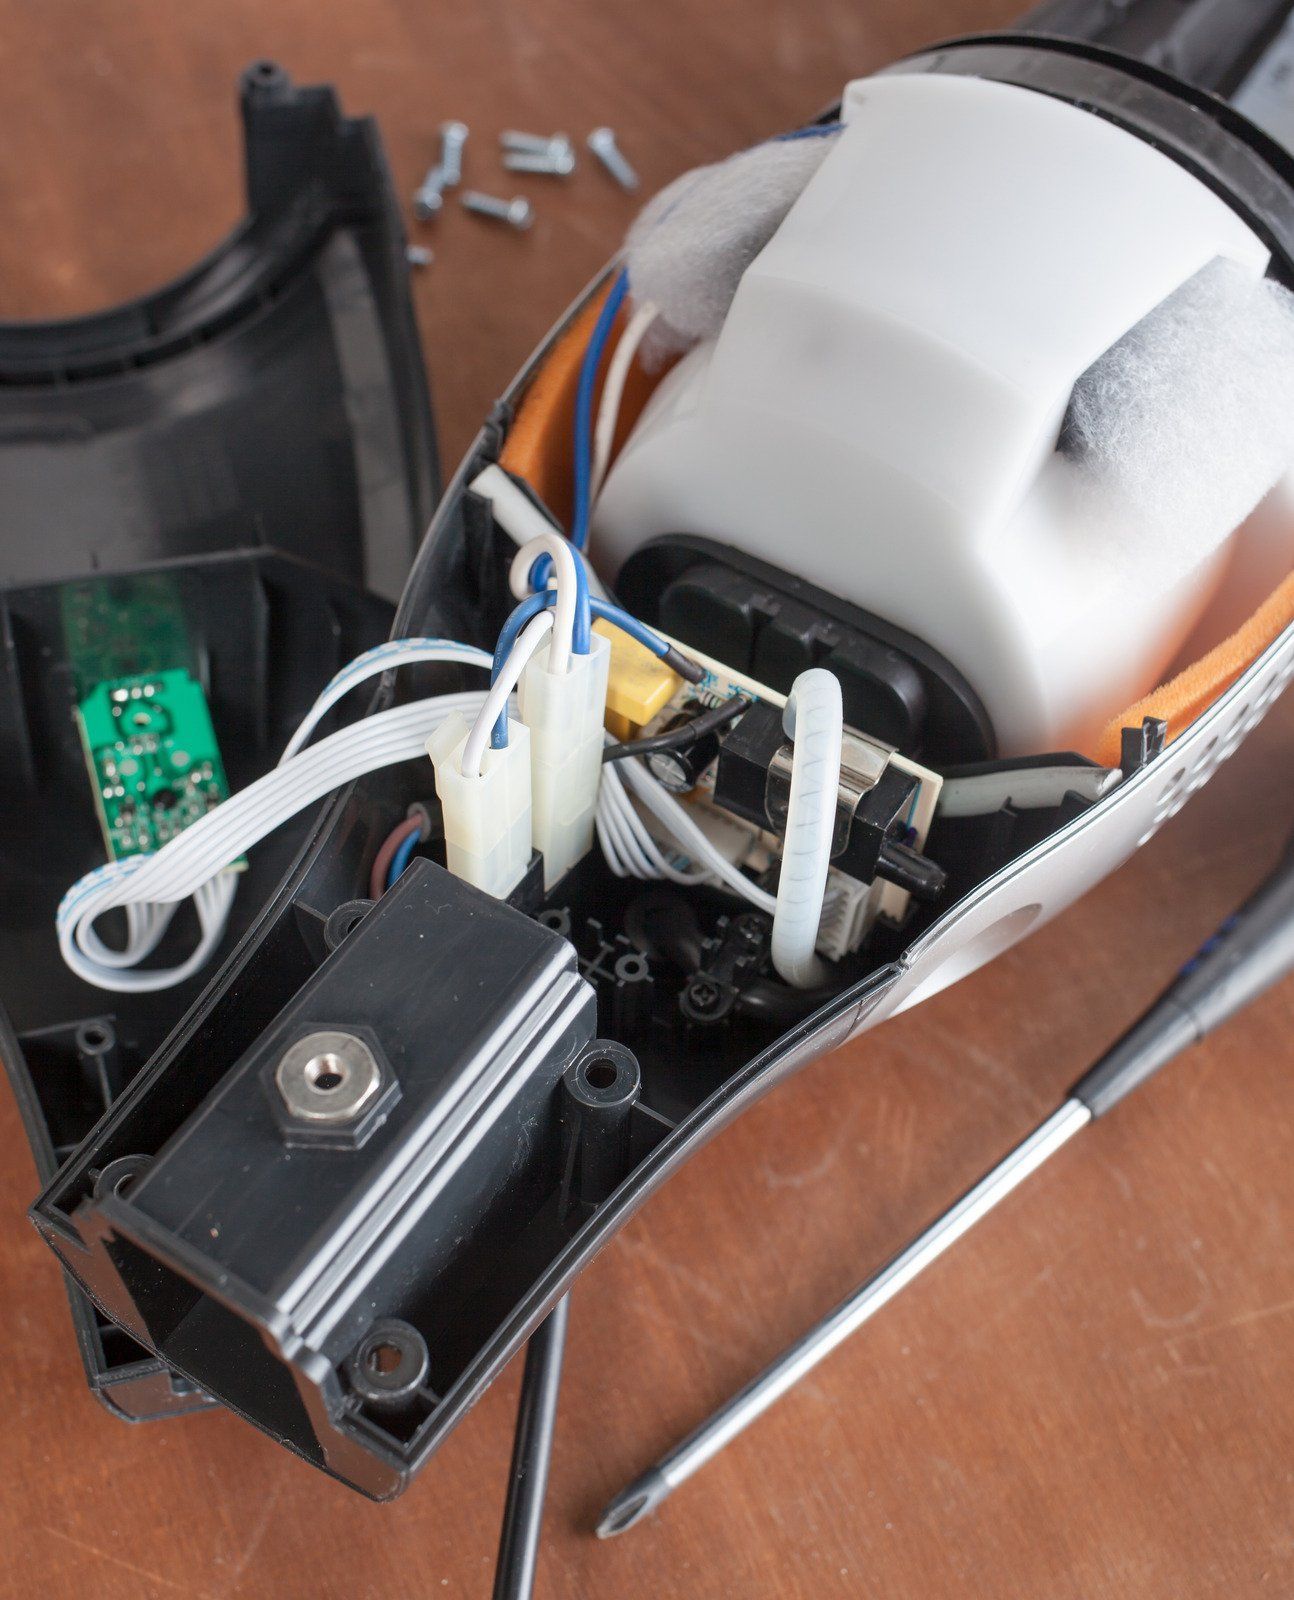
Disassembling the motor unit to "see what's wrong"
Brushed motors used in most residential central vacuum systems have components under spring tension. Taking apart the brush assembly without the right tools and sequence often causes parts to launch and become lost, making what might have been a simple brush replacement into a full motor swap.
Using the wrong sealant on pipe joints
Standard plumber's putty and silicone caulk are not appropriate for central vacuum PVC. They do not create airtight bonds under vacuum pressure. Use only approved PVC cement or fittings designed for low-pressure vacuum piping.
Ignoring intermittent shutoffs
A unit that runs for a few minutes and then shuts off is telling you the thermal protection is activating. That is a symptom of airflow restriction, a failing motor, or a blocked filter. Running the unit repeatedly to "see if it clears up" overheats the motor each time and shortens its service life significantly.
How We Diagnose These Problems in the Field
A proper diagnostic on a central vacuum system follows a specific sequence that rules out the simple causes before opening the unit.
We start with an airflow measurement at the power unit itself using a flow meter placed at the exhaust port. This tells us whether the motor is producing normal output independent of the rest of the system. If output is normal at the unit but weak at the inlets, the problem is in the piping. If output is low at the unit, the problem is in the motor, filter, or canister.
Next, we pressure-test the piping by capping inlets and measuring how quickly the system holds vacuum. A system that drops pressure quickly has a leak somewhere in the tubing or at a joint. In Southwest Michigan, homes with older installations often have pipe runs in crawl spaces where freeze and thaw cycles over the years have stressed joints in ways that are not visible until you test for airflow.
If the issue is in the motor, we inspect the carbon brush length, the commutator surface, and the bearing condition. A brushed motor with worn brushes will run but produce low output and generate more heat than normal. Brush replacement extends motor life significantly when caught before the commutator surface is damaged. Once the commutator is scored, replacement is the more reliable path.
Repair vs. Replace: How to Make the Call
The age of the unit matters more than the nature of the repair in most cases. A motor replacement on a unit that is 4 years old almost always makes sense. The same repair on a unit that is 18 years old deserves more thought.
| Factor | Lean Toward Repair | Lean Toward Replacement |
|---|---|---|
| Unit age | Under 10 years | 15 years or older |
| Failure type | Mechanical or filter-related | Motor winding or bearing failure |
| Repair history | First major repair | Second or third major repair |
| Canister condition | Sound, no rust | Rust, cracks, or damaged seals |
| System piping condition | Good, no known leaks | Multiple known leak points |
A central vacuum system with sound piping and an intact canister that needs a motor replacement is worth repairing. The piping in a home represents the most labor-intensive part of the system, and it typically outlasts two or three power units. Replacing just the power unit on a system with good piping is one of the better values in home appliance repair.
If the piping has multiple leak points or the canister is corroded, the calculation changes. You are not just repairing an appliance; you are investing in a system that already has other failing components.
Trusted Central Vacuum Experts Serving Michigan Homes
The core principle is this: most central vacuum repairs start with the simplest possible cause, and working through a logical sequence before touching the power unit resolves the majority of problems without professional help. In West Michigan, the additional variable of cold weather stress on pipe joints means suction problems that develop through winter deserve a pipe inspection alongside the usual filter check. The Central Vac Shoppe has been diagnosing and repairing central vacuum systems in Galesburg, Michigan for 7 years, including homeowners. If you have worked through the basics and the system still is not performing the way it should, reach out to schedule a diagnostic appointment.
Frequently Asked Questions
How do I know if my central vacuum motor is failing or if it is just a blockage?
Disconnect the hose from an inlet valve and test suction at the opening. Strong suction there but weak through the hose points to the hose. Weak suction at the inlet itself means the motor, filter, or a pipe joint needs professional attention.
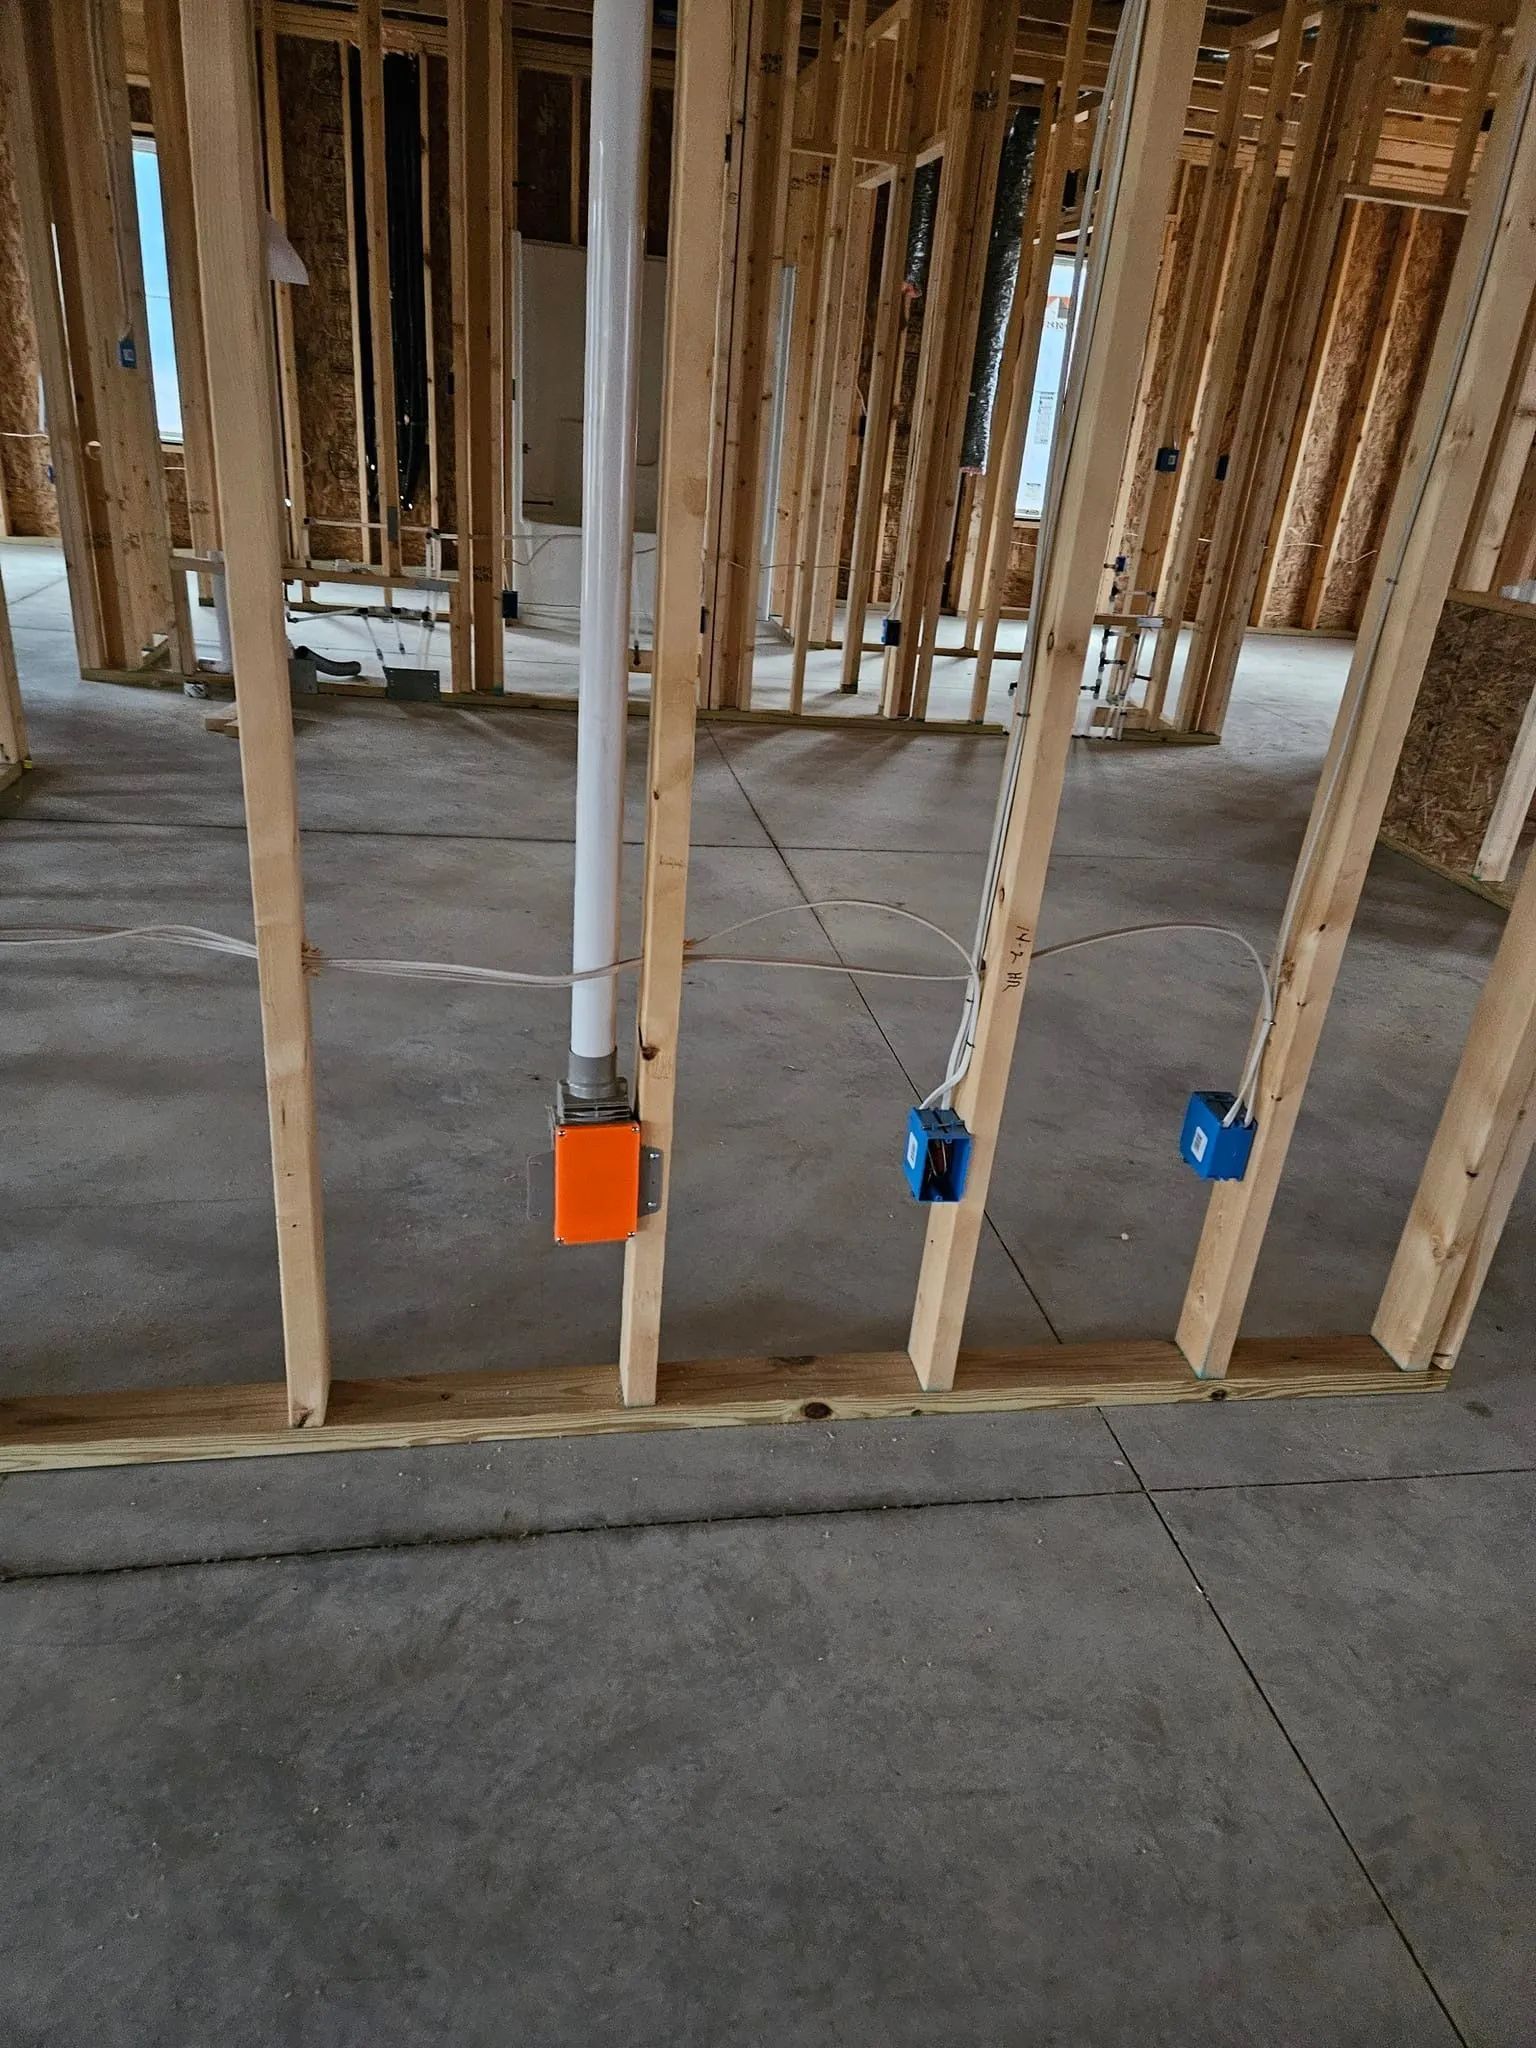
Can I replace central vacuum piping myself if I find a cracked section?
Accessible sections in an unfinished basement are manageable using solvent-welded PVC if the diameter and schedule match exactly. Any run inside a finished wall requires professional repair. Opening drywall incorrectly creates far more work than the pipe fix itself ever would.
How often should a central vacuum be professionally serviced in Michigan?
Most households need a professional inspection every 3 to 5 years with regular filter maintenance. West Michigan homes with older piping in unheated crawl spaces benefit from a check every 2 to 3 years to catch developing leaks before suction loss becomes noticeable.
What should I do if my central vacuum smells like it is burning?
Power the unit off immediately and do not restart it. A burning smell means the motor is overheating from a clogged filter, worn brushes, or a winding failure. Check the filter first and schedule a service call if the smell returns on the next startup.
Is a central vacuum worth repairing if the house already has a portable vacuum that works fine?
Usually yes. The piping inside your walls represents the most valuable part of the system. Replacing only the power unit on a system with sound piping restores full function efficiently. The calculation changes only when the piping itself has multiple known failure points.