A Professional's Approach to Vacuum Tool Replacement Projects: Tips and Techniques
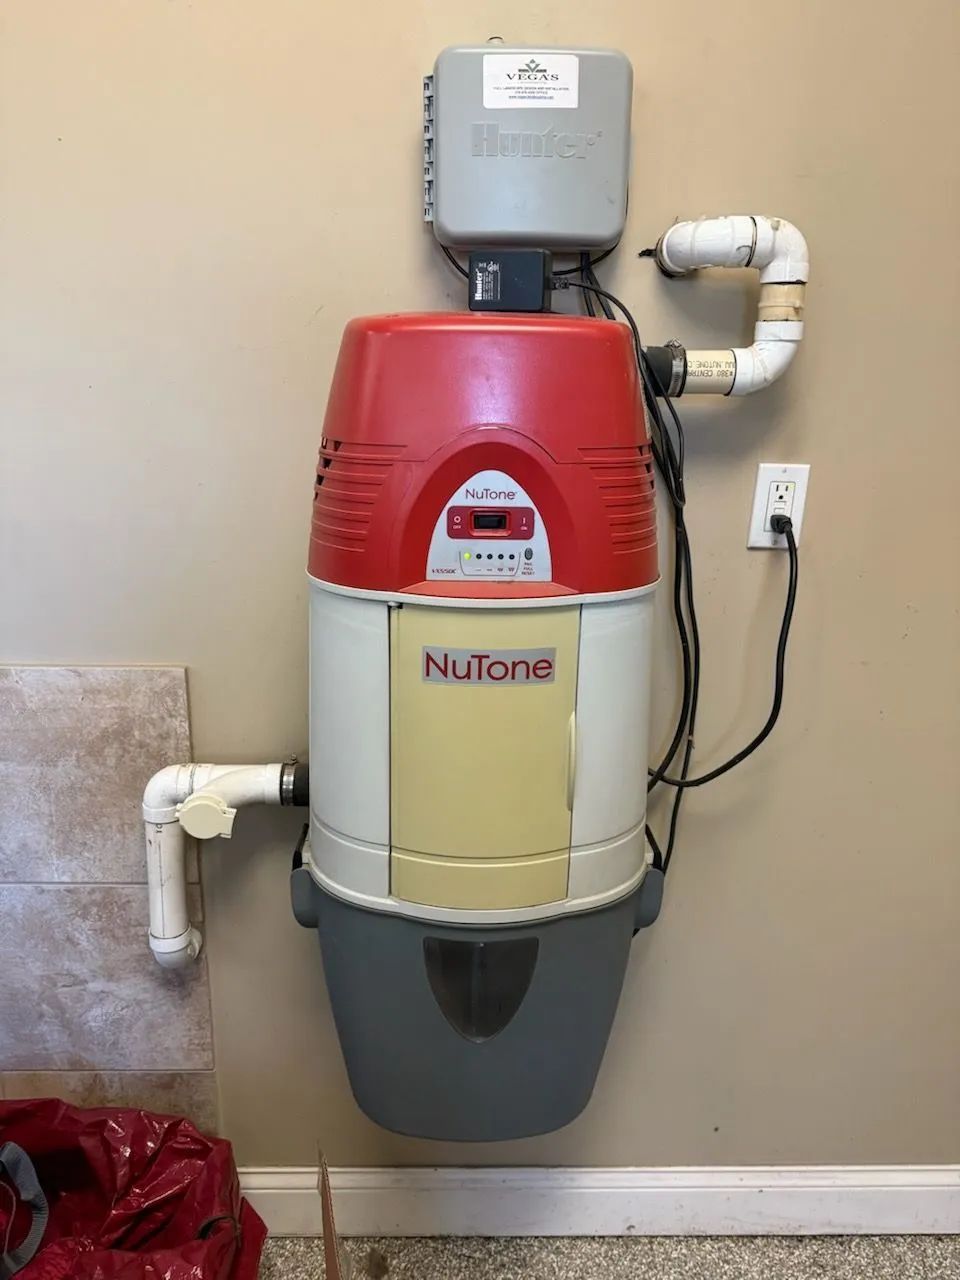
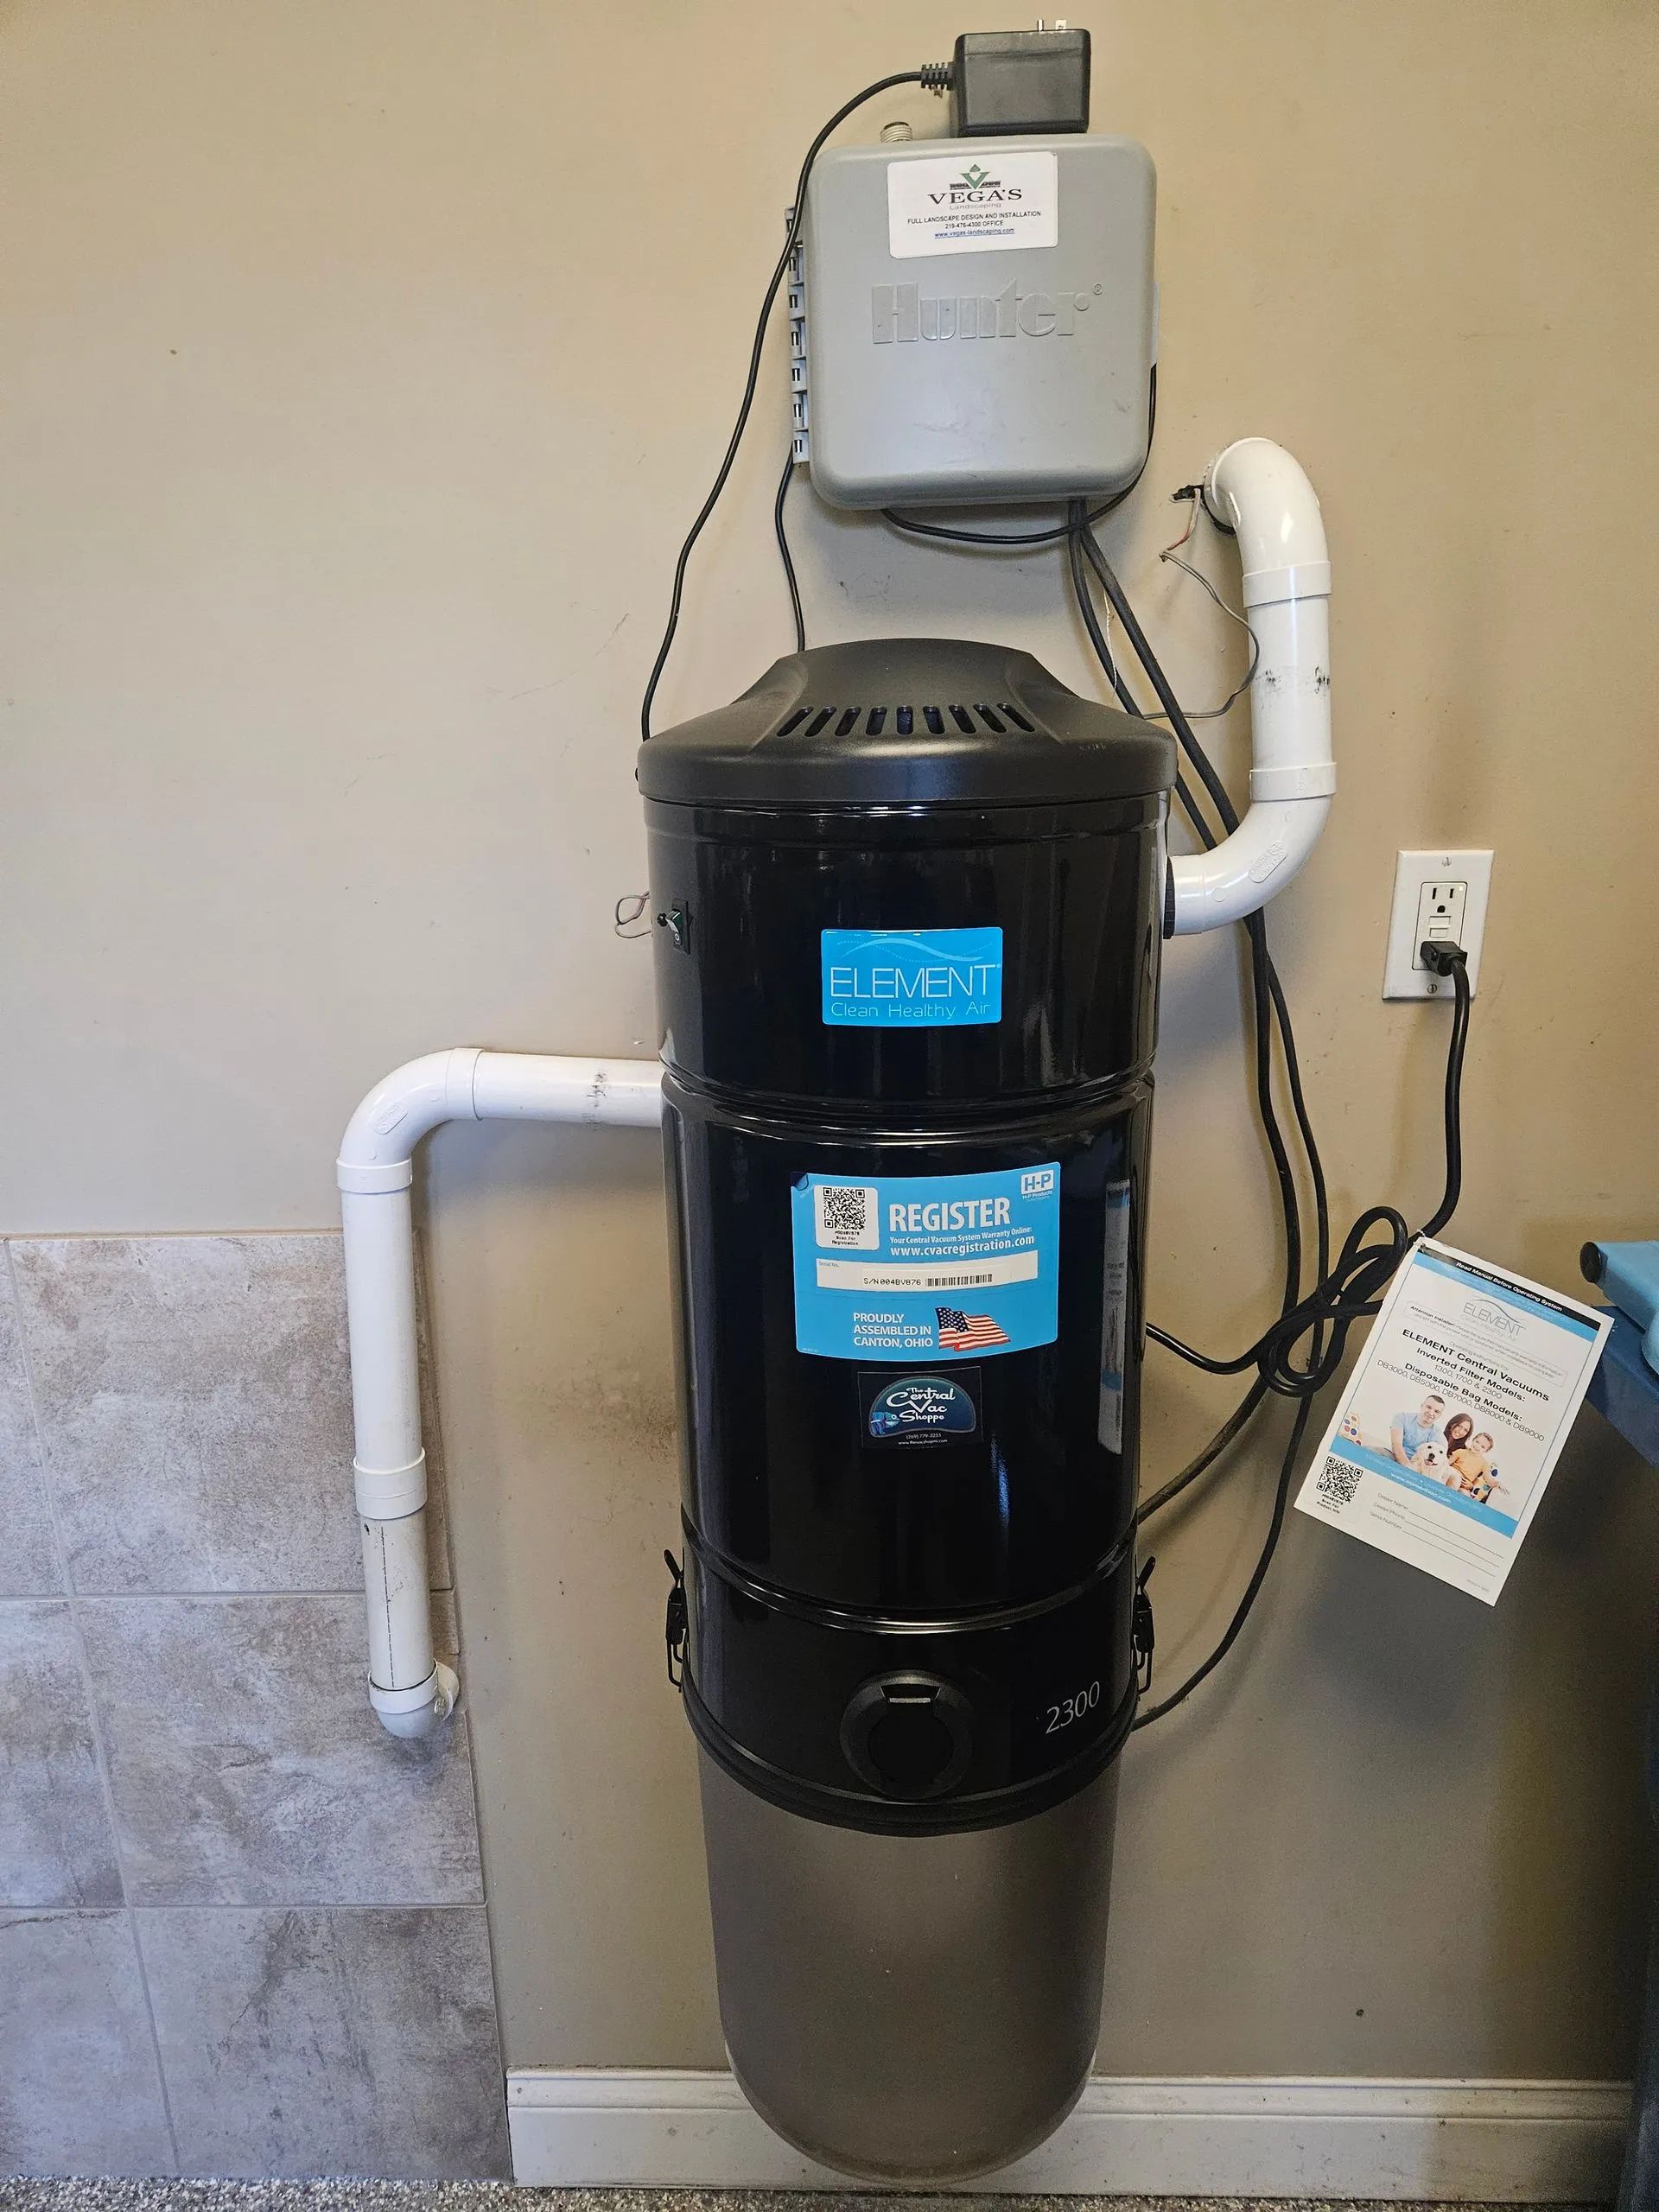
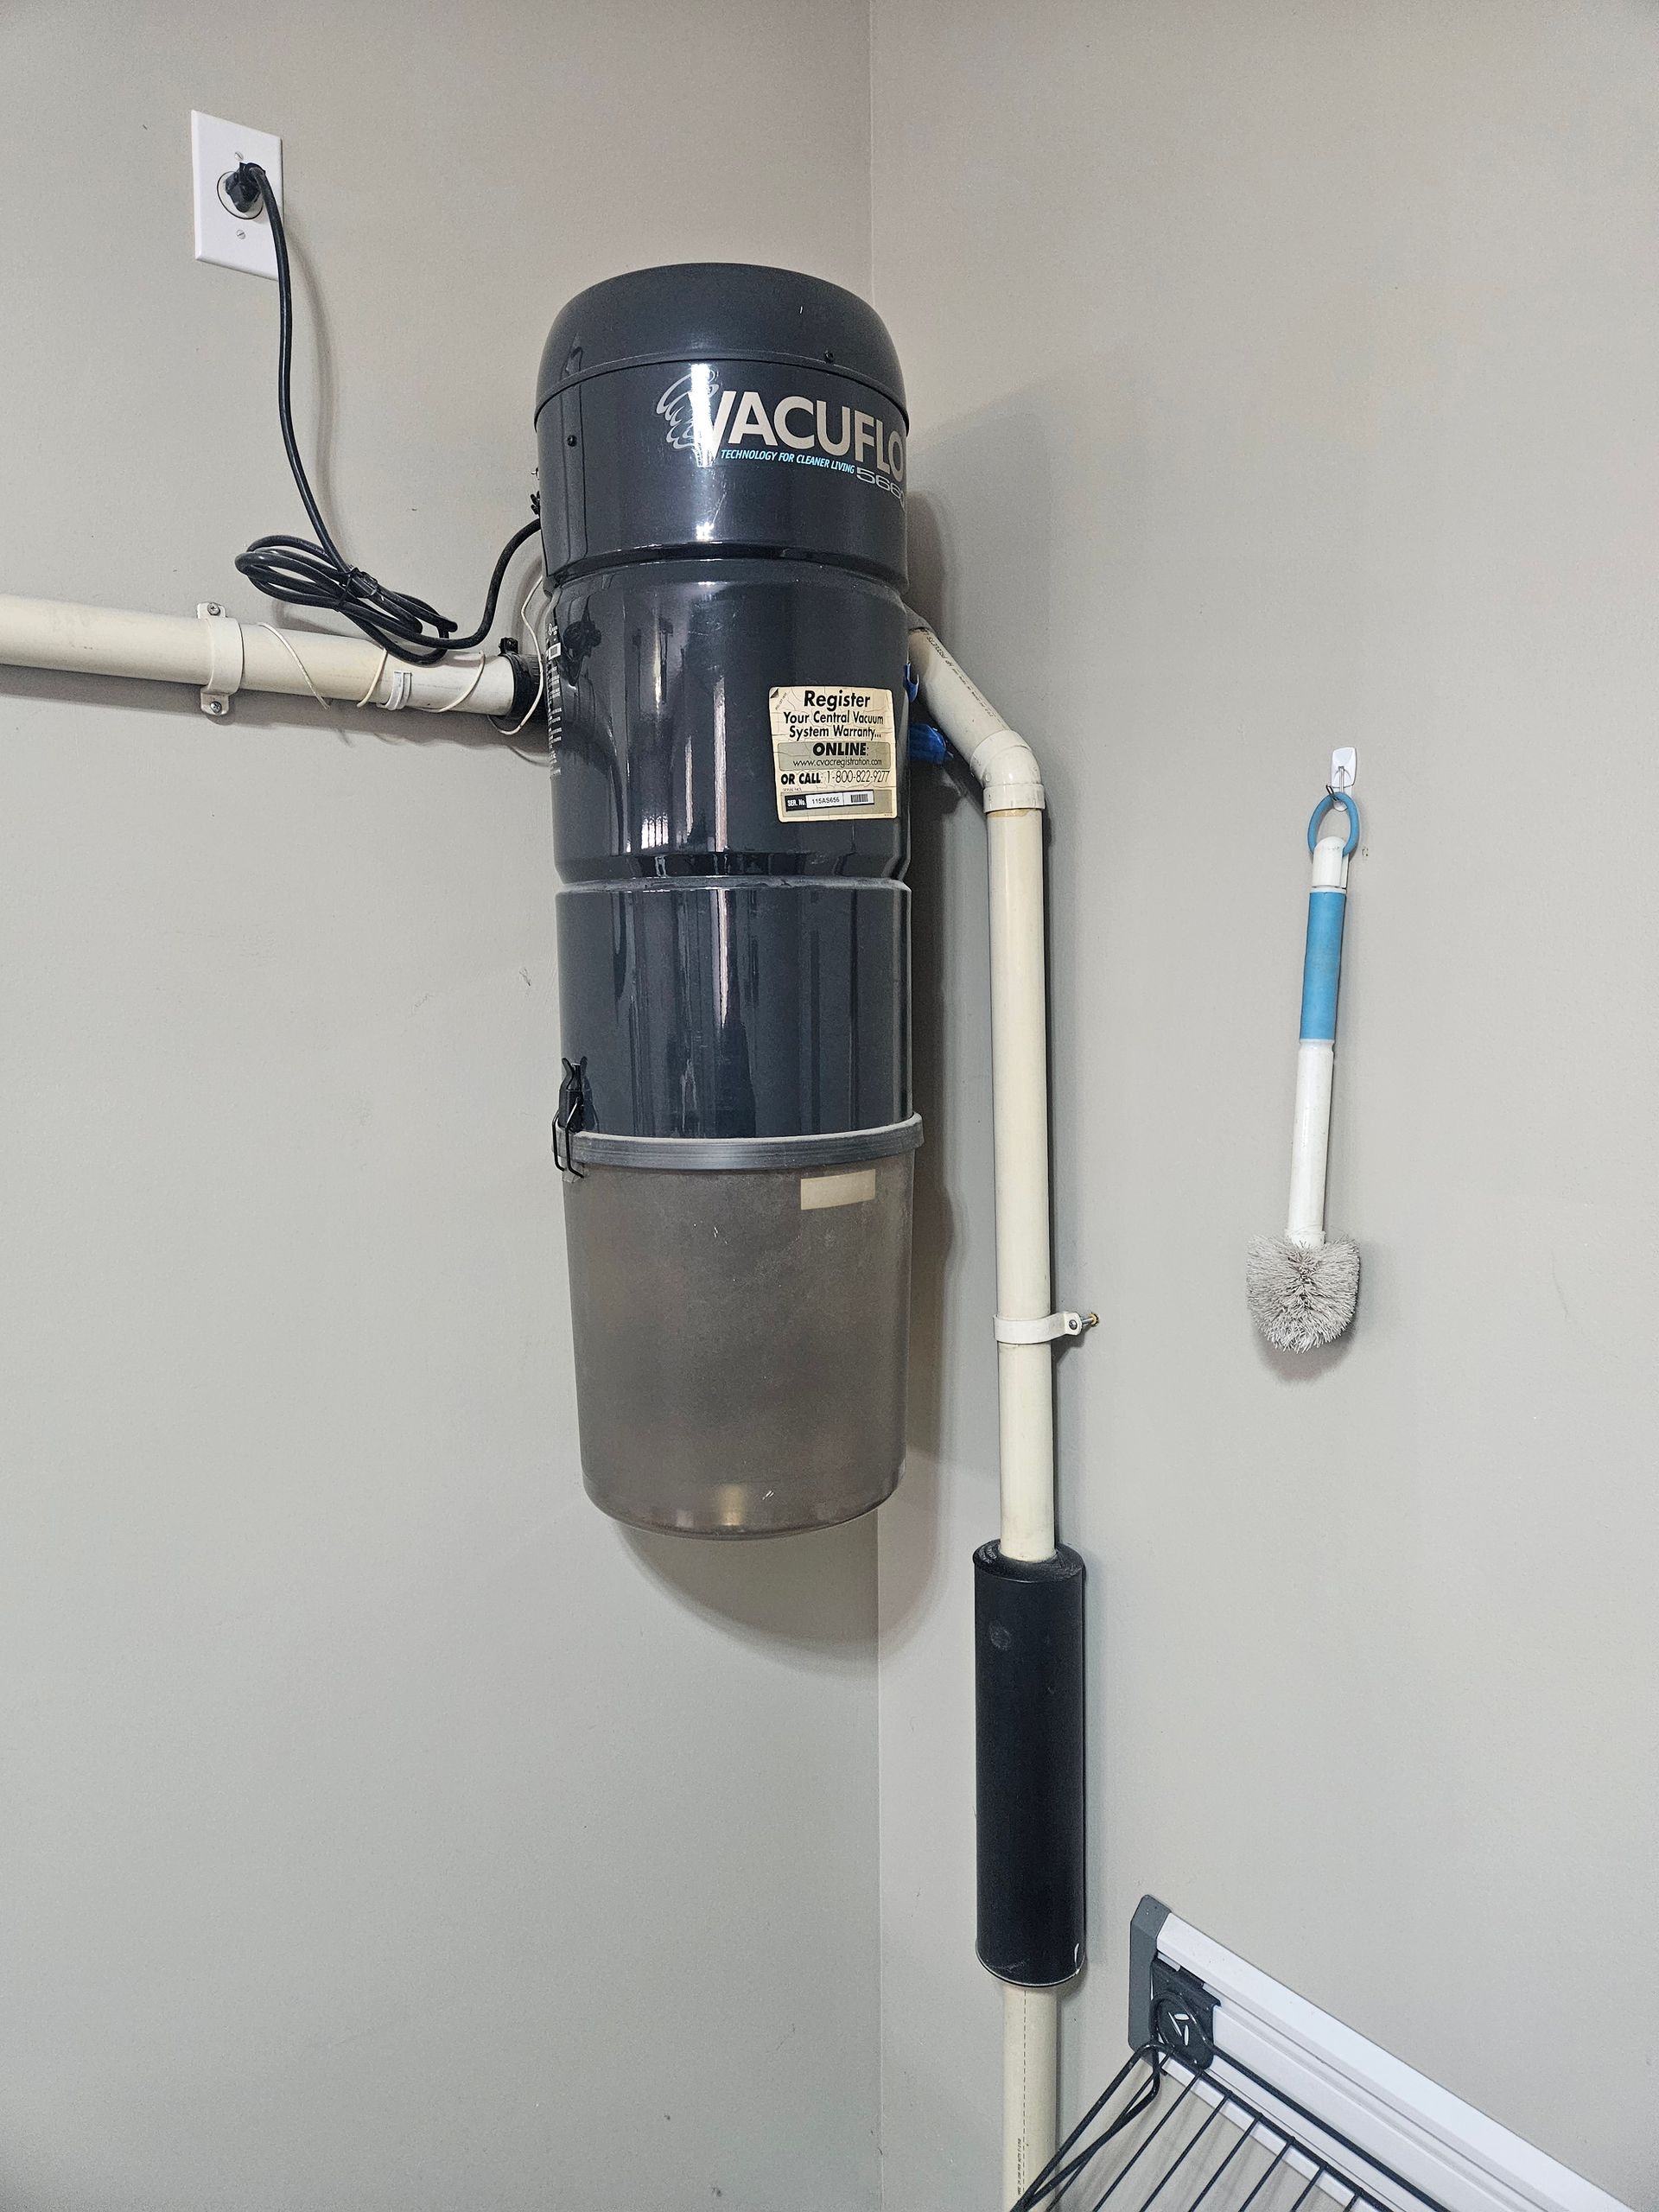
Whether you're a homeowner trying to maintain peak vacuum performance or a facility manager overseeing larger cleaning systems, replacing vacuum tools can dramatically impact your equipment’s efficiency. Over time, even the most durable vacuum accessories wear out, reducing suction power and overall cleanliness. That’s why understanding how to replace your vacuum tools properly is key. A professional approach ensures you not only maintain cleaning effectiveness but also extend the lifespan of your central vacuum system.
Vacuum systems are a long-term investment, and regular tool upgrades play a critical role in protecting that investment. Ignoring worn tools can lead to poor air quality, clogged filters, and damage to your vacuum motor. Fortunately, replacing tools is simple when done correctly, and can restore your system to like-new performance. In this blog, we’ll break down how professionals approach vacuum tool replacement projects with smart tips and time-tested techniques. Whether you're a DIY enthusiast or looking to consult an expert, these insights will help you get the job done right.
1. Identify When It’s Time to Replace
Professionals know the first step in any replacement project is recognizing when a tool has reached the end of its life. Look for cracks, worn bristles, reduced suction, or difficulty maneuvering. If you're dealing with frayed hoses or attachments that won’t lock in place, these are clear signs it's time to upgrade. Regular inspections can prevent damage to your central vacuum unit by catching worn components early.
2. Match the Right Tools to Your System
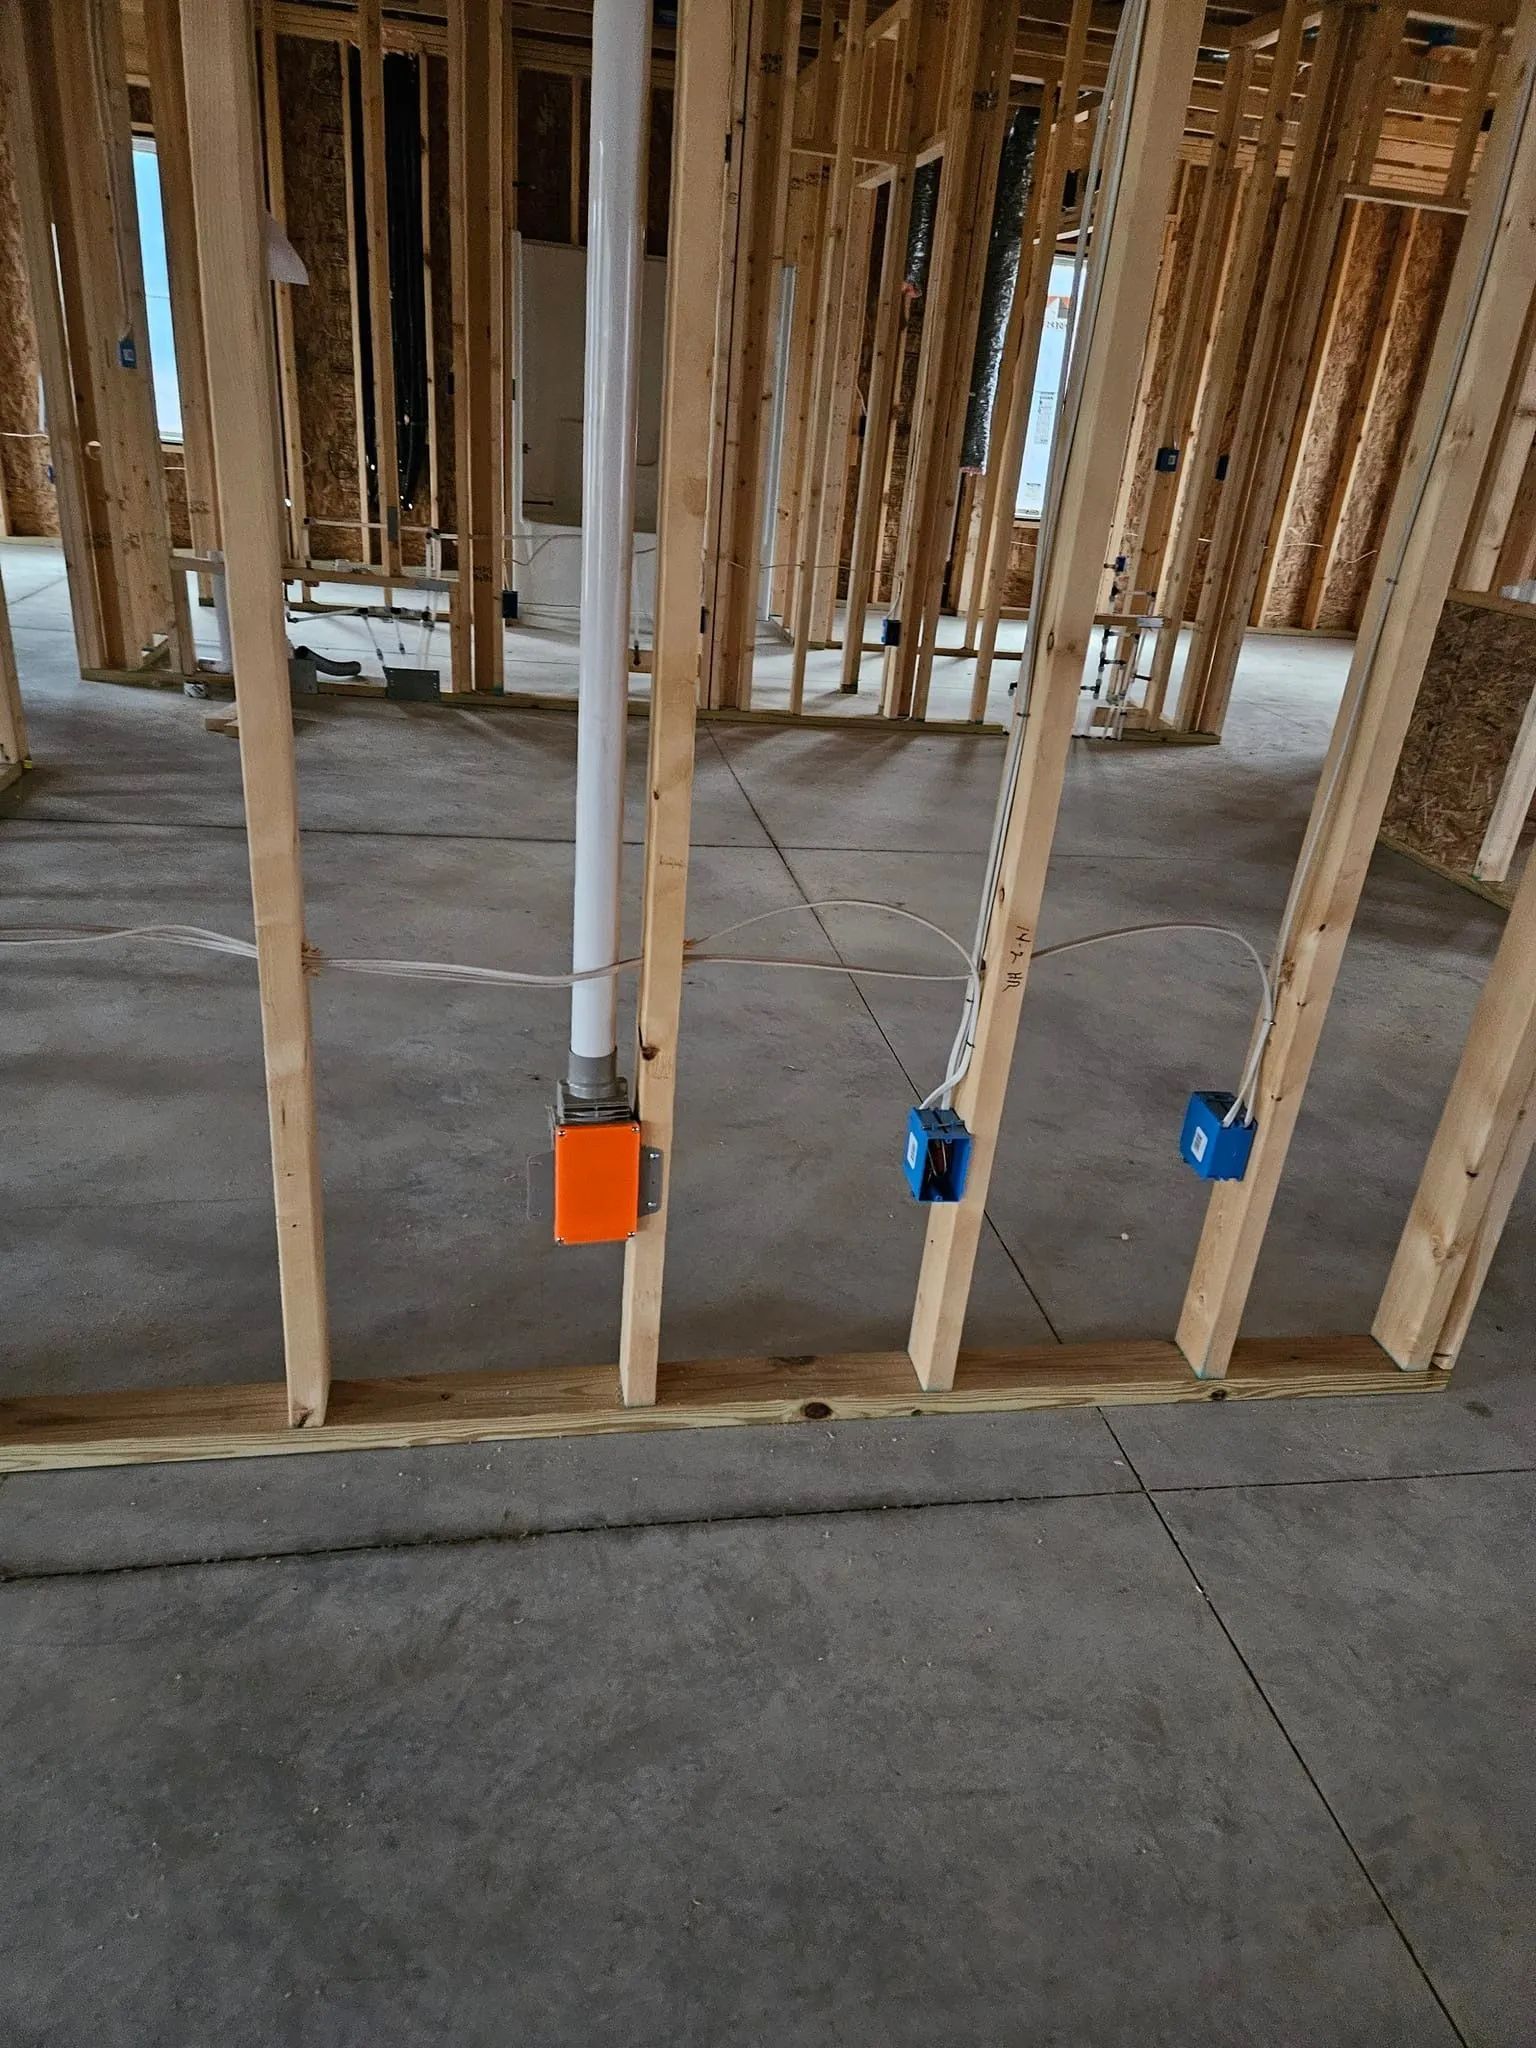
Not all vacuum systems are created equal. One of the most common mistakes is buying incompatible parts. Professionals ensure that the new tools—such as powerheads, brushes, hoses, or wands—are designed specifically for your system brand and model. Universal attachments may seem convenient, but they often compromise performance. Check connection types, voltage compatibility (for electric tools), and size measurements before buying.
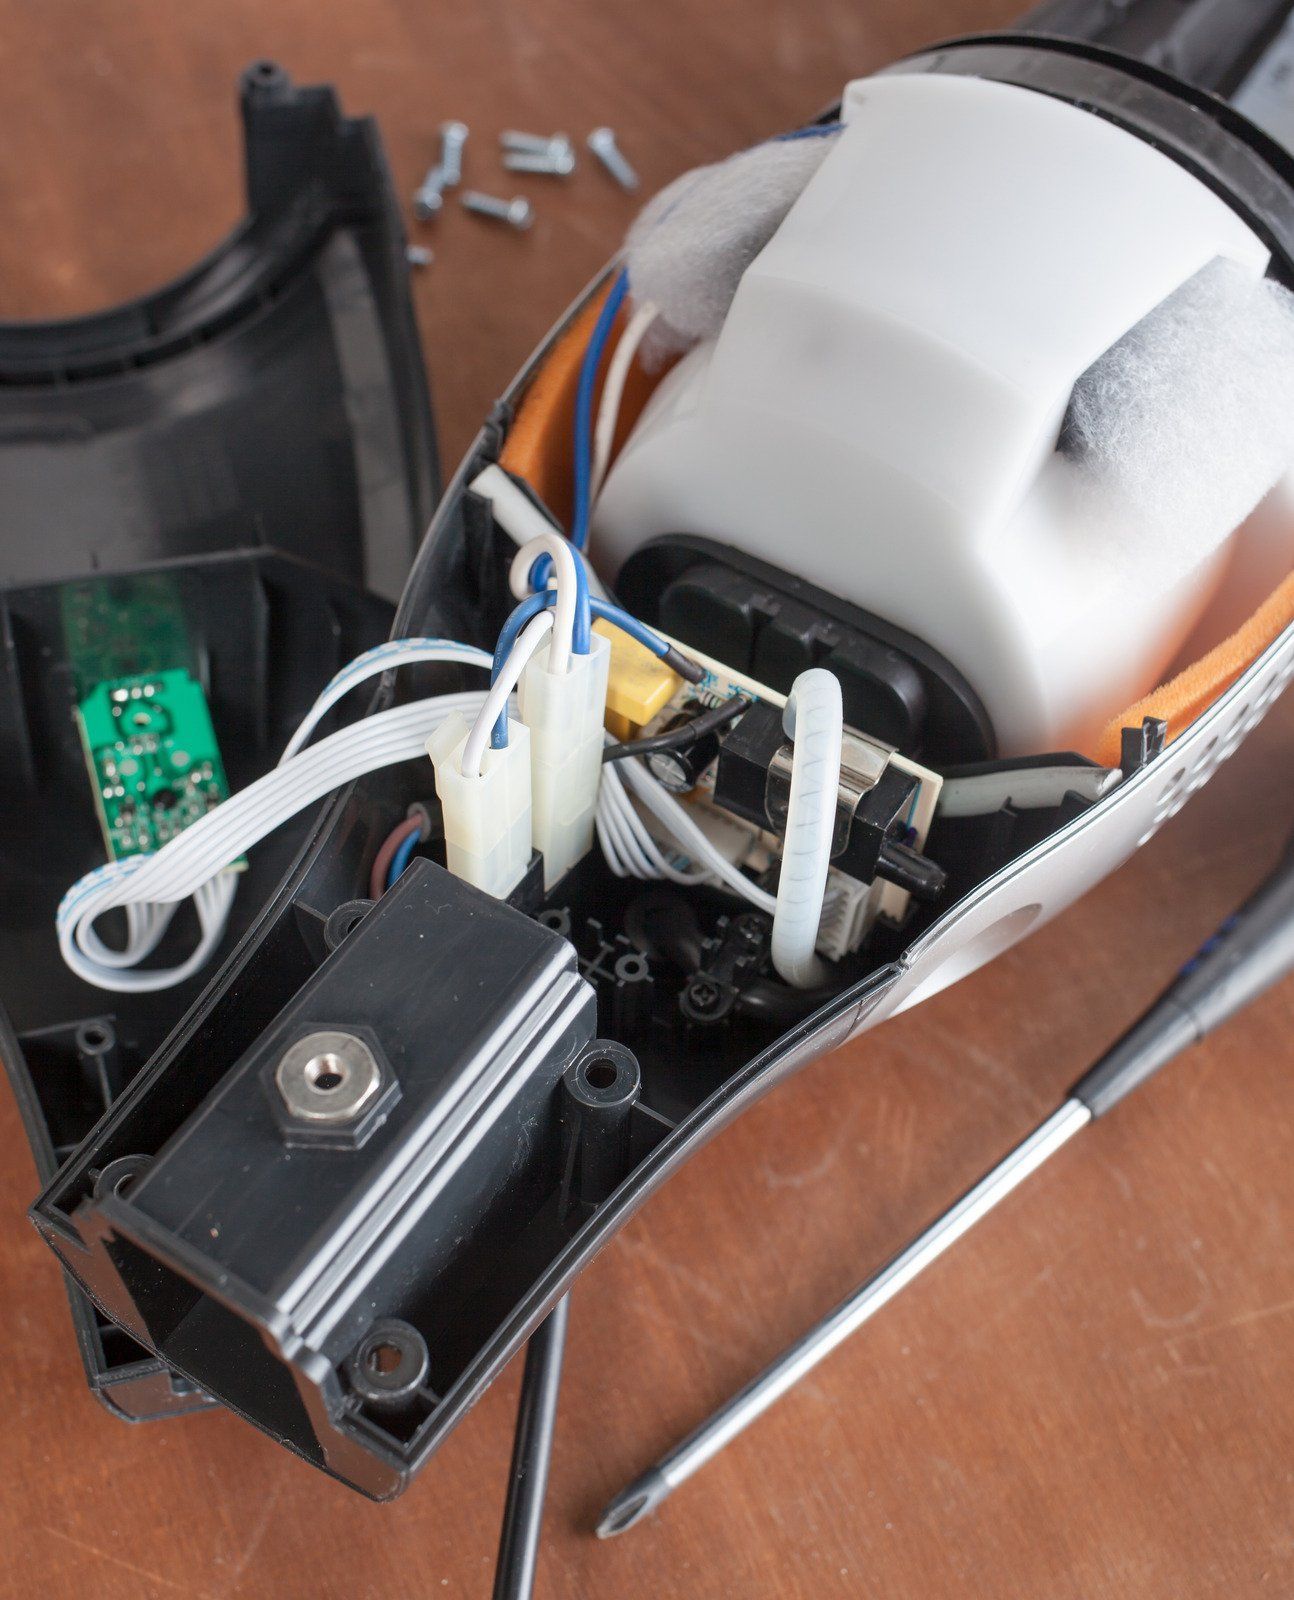
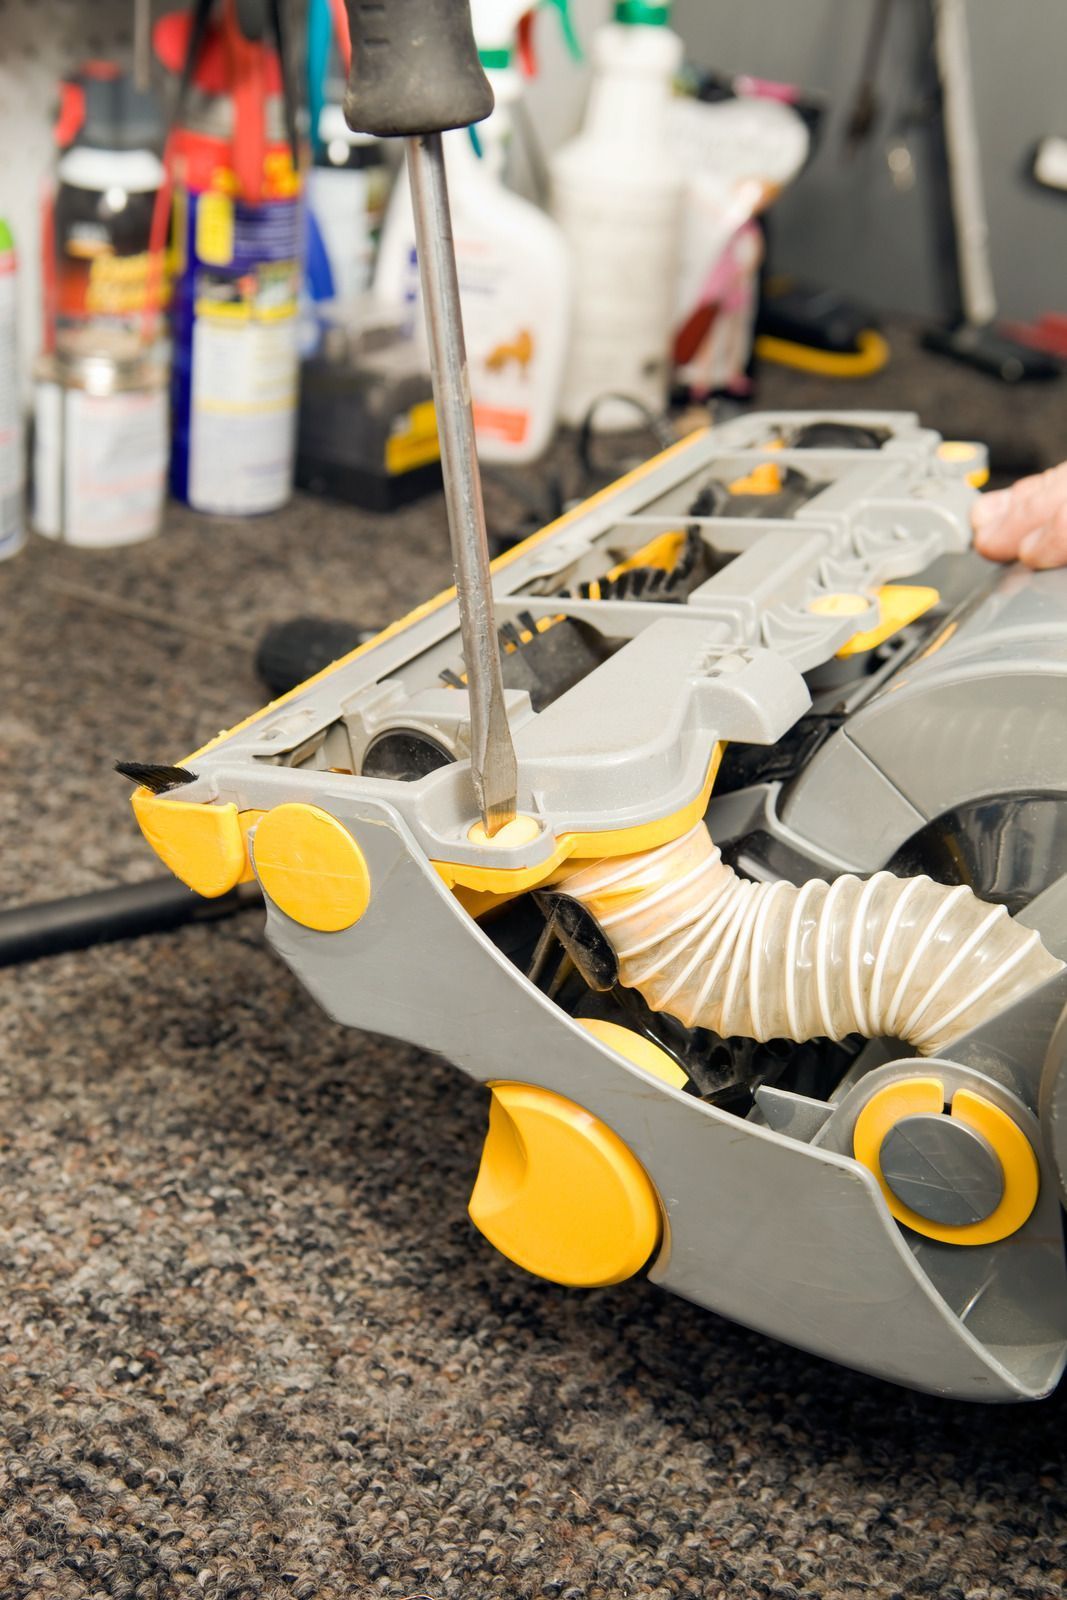
3. Use Proper Installation Techniques
Tool replacement isn’t just about snapping on a new part. A professional will clean connection points, remove clogs or debris, and inspect seals for airtight performance. For power-driven heads, proper cable routing and plug alignment are essential for safety and function. Don’t forget to calibrate height-adjustable tools according to your flooring type—whether it's carpet, tile, or hardwood.
4. Optimize for Performance and Longevity
After replacement, test each tool for function and comfort. Professionals suggest rotating attachments based on cleaning tasks—use crevice tools for tight spaces, turbo brushes for upholstery, and floor tools for wide surfaces. This targeted use reduces wear and extends the life of each piece. Always store tools in a clean, dry area, preferably on a wall-mounted rack or tool caddy.
5. Consult Experts for Custom Solutions
If you’re unsure which parts best suit your system or usage needs, don’t guess—consult a vacuum specialist. Professionals often offer in-person or virtual assessments to help match you with high-performing, durable replacement tools. Many modern central vac systems now have upgrade kits that allow older models to benefit from newer, more efficient attachments.
Trust the Experts at The Central Vac Shoppe
When it comes to vacuum tool replacement, don’t leave performance to chance. The Central Vac Shoppe in Galesburg, Michigan, has been delivering expert vacuum solutions for over 7 years. With a reputation built on reliability, product knowledge, and friendly service, our team helps customers choose the right tools and installs them for optimal results. Whether you need a simple brush replacement or a full tool upgrade package, we’re here to keep your vacuum system running at its best. Visit us today and experience the professional difference.